
Life on a boat is never boring. Yesterday morning, we awoke to discover that the bilge pump under the guest staterooms was going on every 3 minutes (like clockwork for 20 seconds). At first, we thought we would just keep an eye on it, since bilge pumps often get stuck. As we prepared to leave for the Misty Fjords excursion, the pump went on constantly, requiring immediate attention. We discovered that the pump was on because there was water emptying into the bilge. Our main water tank (1100 gallons) had sprung a leak. The tank is original (1941), constructed of 10 gauge galvanized wrought iron. Eight years ago, we had the tank sandblasted and then coated with epoxy. Apparently, over the last few years, the tank may have shifted a bit during passages, and the coating in one corner of the tank failed, with the result that water was leaking out of the tank into the bilge. Clearly a big problem, since we are pretty much water dependent for the ship to function (think showers, heads, drinking, etc).
We started making calls to see if there was anyone in Ketchikan who did water tank repair, or fiberglass repair in general. No luck. I called Ben Harry, owner of Lake Union Boat Repair in Seattle to see if he had any ideas. He agreed that we would have to drain the tank, and send someone down to epoxy the corner to stop the leak. That would take about a week to drain the tank, apply the fix, wait for it to cure… Not a great scenario. Then he said, “Or, you could get a tank, and put it in the forward cabin and plumb it into the system.” Nancy ran with that idea, and said we could put it in the engine room – more space and less involved plumbing. An idea was born.
Our calls then changed from fiberglass repair to water tanks. We found a tank and garden supply store that had 3 rain barrels – 55 gallon, food grade. They were small enough to fit through the hatches from the upper deck to the engine room.
We borrowed a van from our friend Steve R (the Prince of Ketchikan), and drove out to pick up the barrels. From there we went to local hardware store and secured all the parts needed to plumb the tanks. We loaded the tanks on the zodiac, and brought them out to the Gyrfalcon.
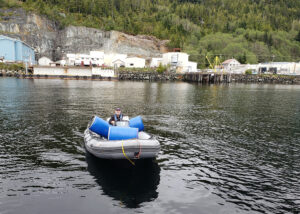
Delivering the tanks on the GFB
Then, we loaded the tanks, one at a time, into our large net bag from Bristol Bay Brailer, and used to the crane to lift them to the top deck.
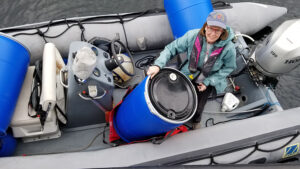
Nancy loading a barrel into the net bag
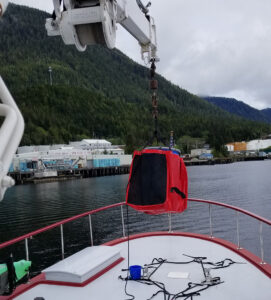
The net bag is great!
Next step was to move the tanks over to the large hatch, so we could lower them down to the galley. After that we removed the hatch in the galley floor, and lowered the tanks into the engine room.
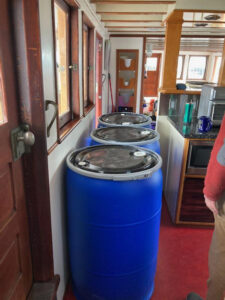
Tanks in the galley – halfway home
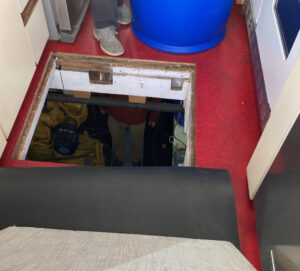
The hatch from the galley to the engine room
Once the tanks were in place, we used our newly purchased hole saw (one can never have too many tools) to make holes in the bottom of all the tanks, so that they were connected in series.
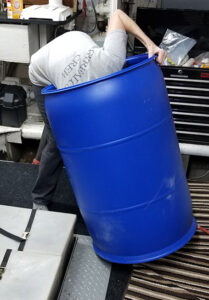
Nancy really got into her work
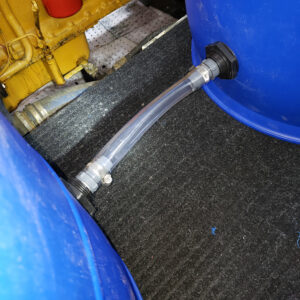
Tubing connecting the tanks in series
The plan is that the water from the watermaker (60 gallons/hour) will be directed in to the first tank. Since all three tanks are connected at their lowest point, the water will fill all three tanks to the same level simultaneously. The outlet from the last tank will connect to the house water pump, which provides fresh water for the boat. We will drain the original, leaking, water tank and then remove it from the circuit and put the new 3 tank system in place.
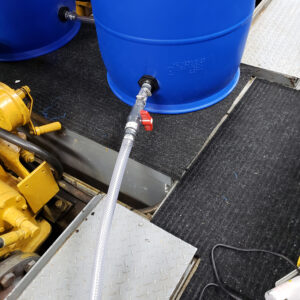
Exit hose from last tank to pump, with cutoff valve
The 3 tanks provide about 170 gallons of water storage. The water maker will be able to fill them in about 3 hours. We don’t generally use that much water in a single day, so the system should work. Since the tanks sit between the two engines, access to the starboard engine and the house batteries becomes a little more complicated, but can be achieved with a little ingenuity.
The first day of this project was devoted to assembly of all the various parts and pieces, and completing 80% of the required plumbing. Day 2 was spent finishing the plumbing and attaching the watermaker to the blue tanks (so that the blue tanks will fill with water, and none will go into the leaking tank). All this has been successfully accomplished, and all that remains is to wait until all the water has drained from the leaking tank. At that point we will isolate the old leaking tank from the house water system, attach the output from the blue tanks to the water pump, and off we go. A Rube Goldberg solution, but a brilliant one. Total time devoted to project: one and one half days. Very glad that it happened while we were anchored in Ketchikan Harbor, and not off in a remote anchorage with no access to parts.



Ingenious. I will never cease to be amazed.