
During the summer of 2018, we started working on some delayed maintenance for paint and varnish. The exterior surfaces had been painted as part of the original work we did on the boat 6 years ago. There were areas of varnish and paint that needed attention. Our excuse is the two years spent in exile in the San Francisco area, but I can’t say we would have gotten to these projects without that diversion. Six years is a long time on a wooden boat that is exposed to the elements. Nancy started by adding a few more coats of varnish on the new railings up front, which had been replaced as part of the bulwarks project. Those rails looked so good that both of us started on the damaged varnish areas on the older part of the rails, and Nancy repainted the upper railing.
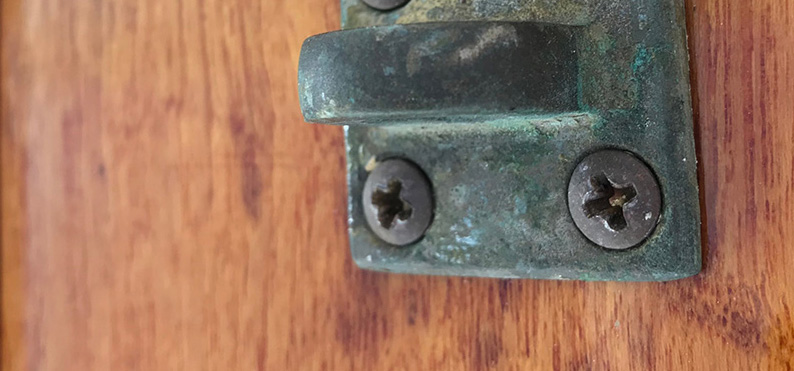
And then Mark became available. Mark is our very local painter – he lives in the same marina as us. We had wanted to find time on Mark’s calendar for years, and it just didn’t work out. So when he had time, we asked him to repair varnish not only on the railings but also on the doors, and also repair some of the cracks in the painted areas of the pilothouse and saloon.
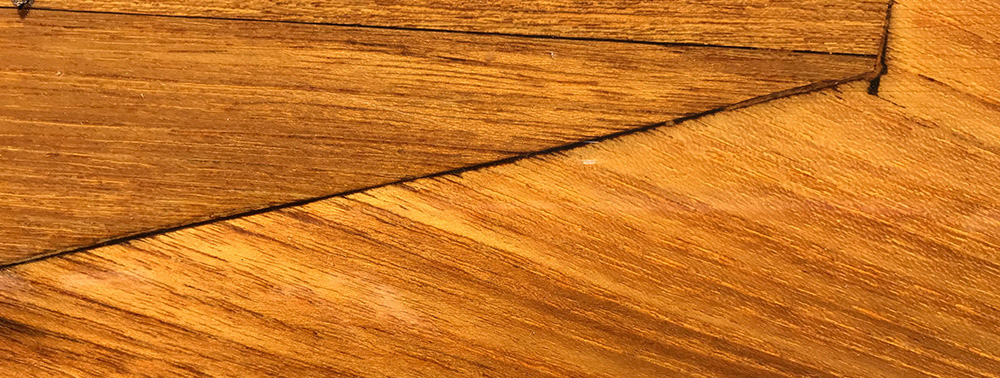
Mark’s work was fantastic: the boat looked great.
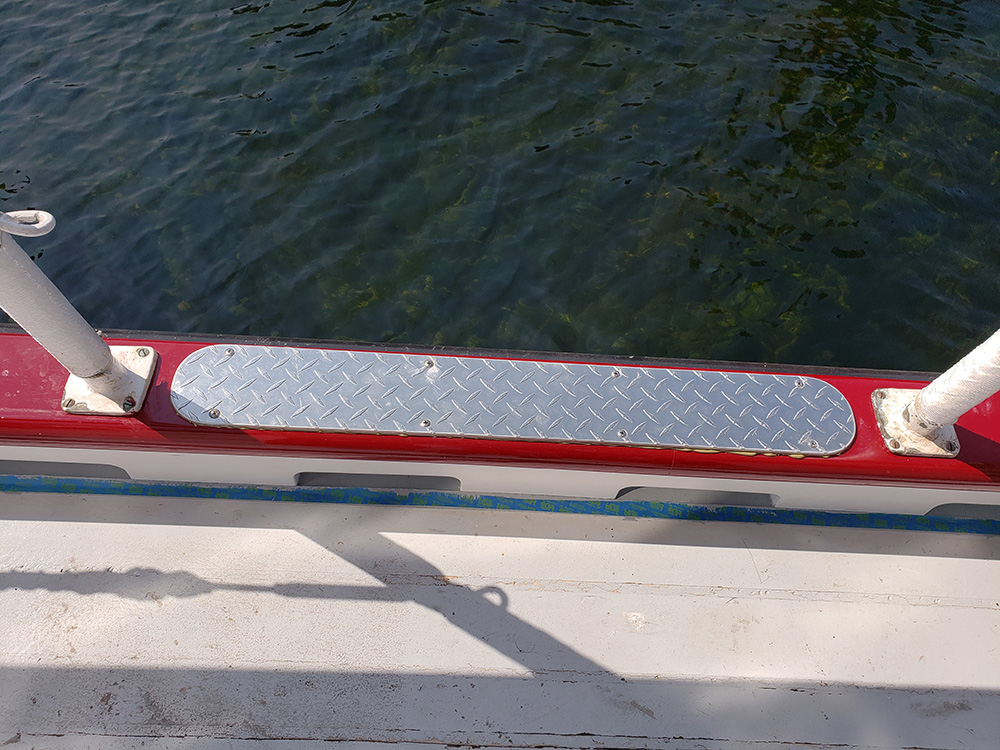
We had also picked up new diamond plate treads from Haven, as the old ones had gone missing while we were in the yard. We installed those–they look great! You can see Dolphinite creeping out from under the edges.
Then we started on one last project: the deck. When we bought the boat, we had sanded and painted the deck. The product used was a non-skid two-part epoxy (Awlgrip). Over the years, it had worn and needed to be either repaired or replaced. As you can see in the picture above, the paint was cracking and disintegrating. We have come to conclusion that Awlgrip is not a good product for a wooden boat, since it forms a hard shell that does not breathe or move with the boat. We had been impressed with the Polycoat finish on the Merrie Ellen, and had been thinking about that as the replacement for the Awlgrip nonskid.

Mark repaired dings and sanded the deck surface to get it ready for painting. Then everything needed to be moved and/or masked.
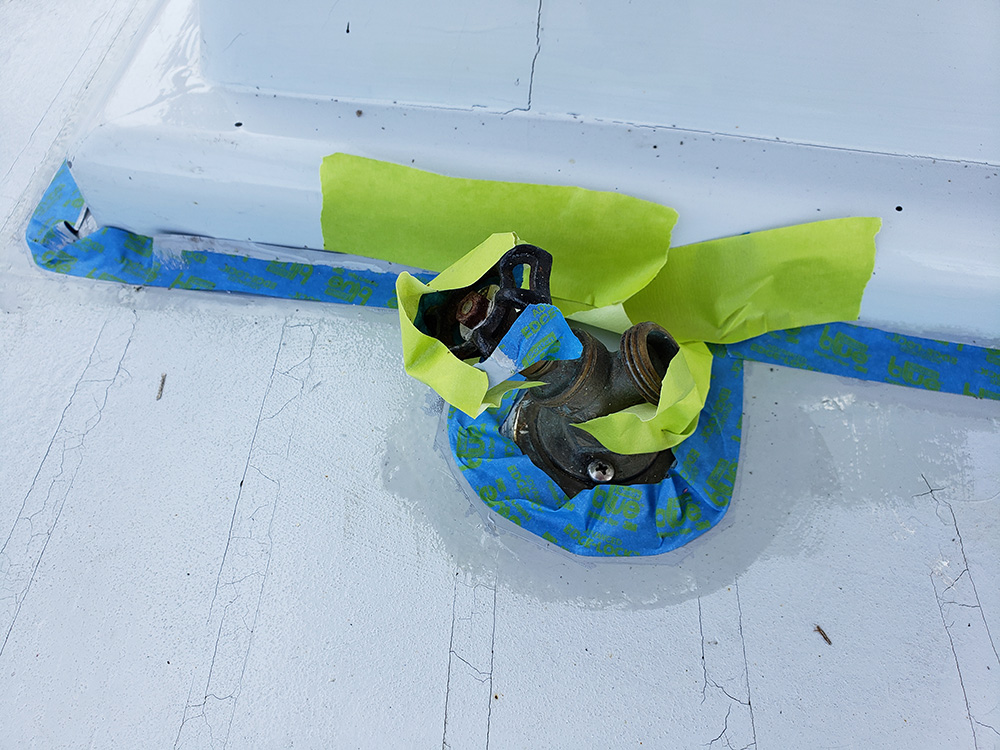
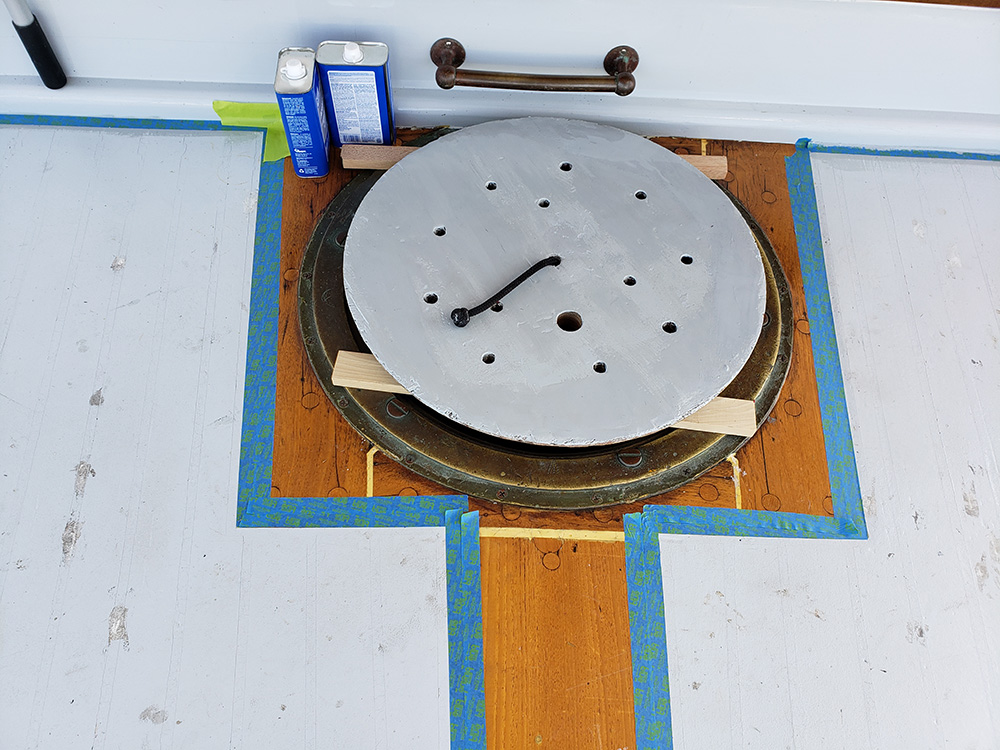
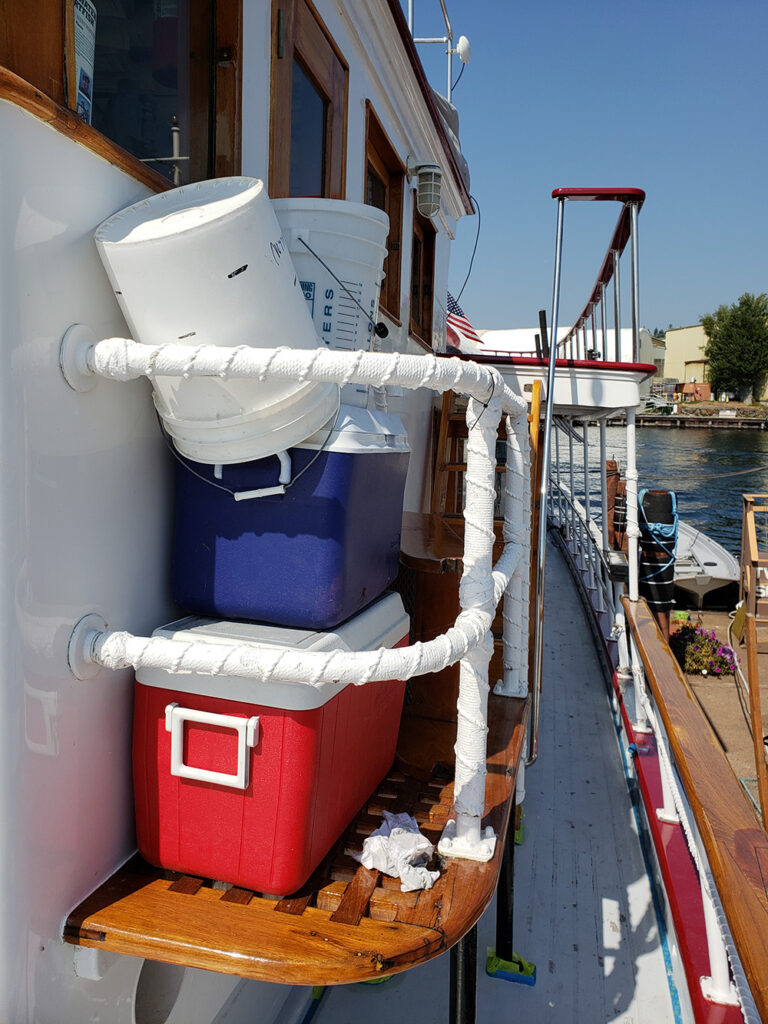
We borrowed JoEllen’s SUV to get the materials from Fiberlay in Kent (many 5 gallon buckets, lots of sand, and several different additives), and piled everything up on our dock. Then the weekend of painting arrived. It was a multi-day 3-person effort to apply the polycoat. First, we needed to understand the directions. We (Nancy actually) ended up putting together a Word table with each step, including product to be used, minimum and maximum time before recoat, and special instructions. We taped that up on a window, and started the process.
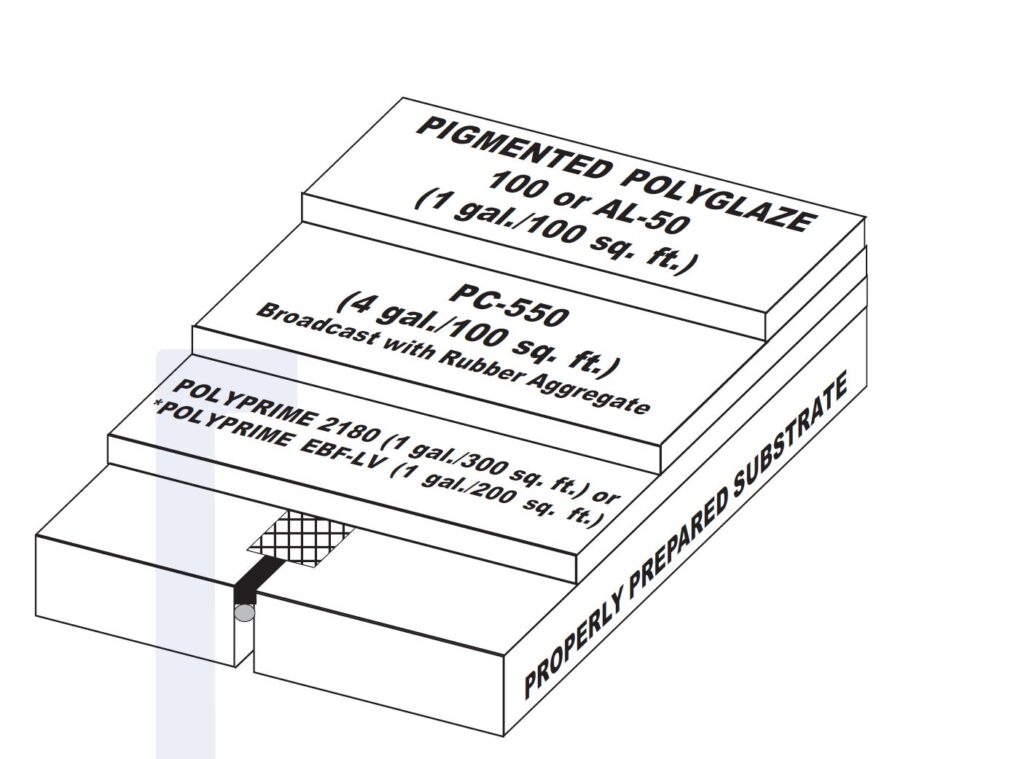
First was a layer of primer. This was a 2 part epoxy material that we added 2 primers to start the chemical process. Next, there were 2 layers of base coat. This stuff went on really thick, we thought, until we got to the next layer.
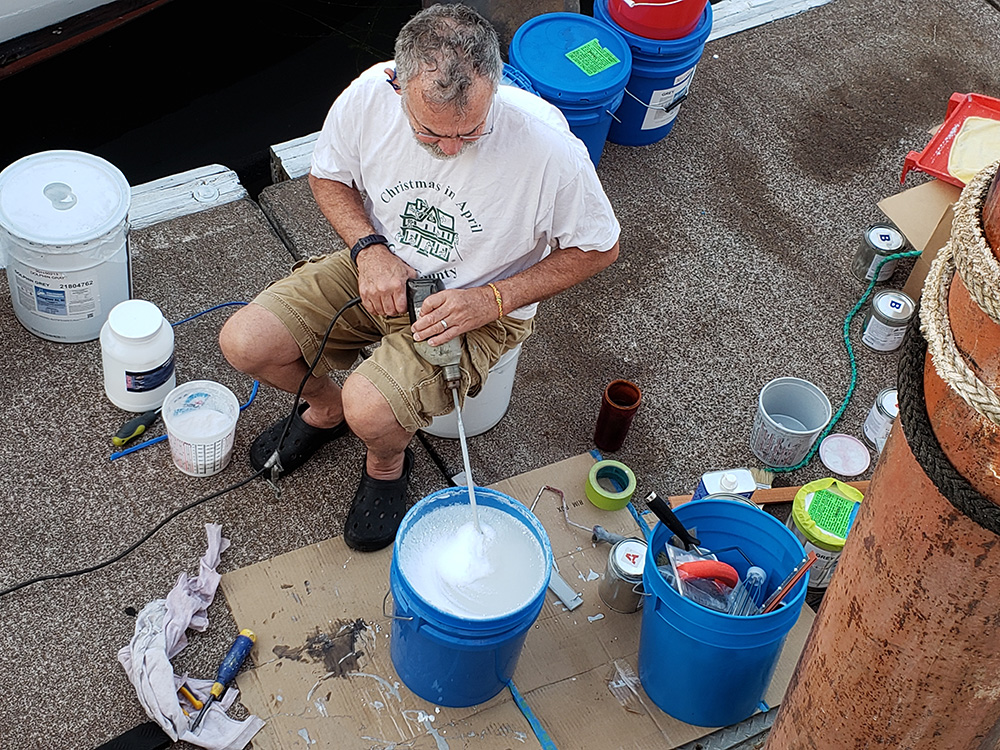
The basecoat layers were even thicker, and everything got more complicated. This material needed to be mixed with water to activate the rubber material in the base coats. Peter did the mixing and Nancy and Mark painted.
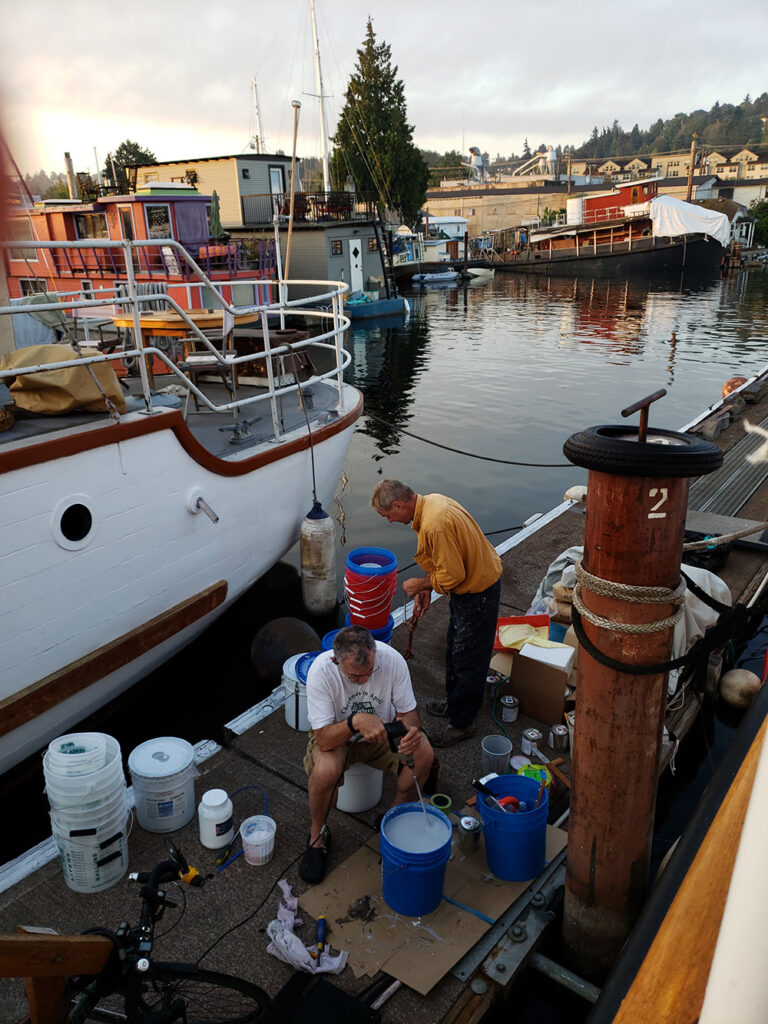
Our workshop on the dock
For the basecoat layers, you apply one layer, let it dry, and then apply another layer of the same material. Once the water is added, there is a short window (5-10 minutes) before the material becomes too solid to use. We worked in small batches. We kept to our same roles: Peter mixed, and Nancy and Mark painted. After that layer was dry, we started on the second basecoat layer. This was the layer that included sand (and perhaps a few spiders) as nonskid. While the second basecoat layer is still wet, you broadcast sand “to refusal,” which means that you keep throwing sand onto the surface until it refuges to sink into the paint. For this layer, Nancy and Mark started painting, but it was clear that it took about the same amount of time to broadcast sand as it did to paint.
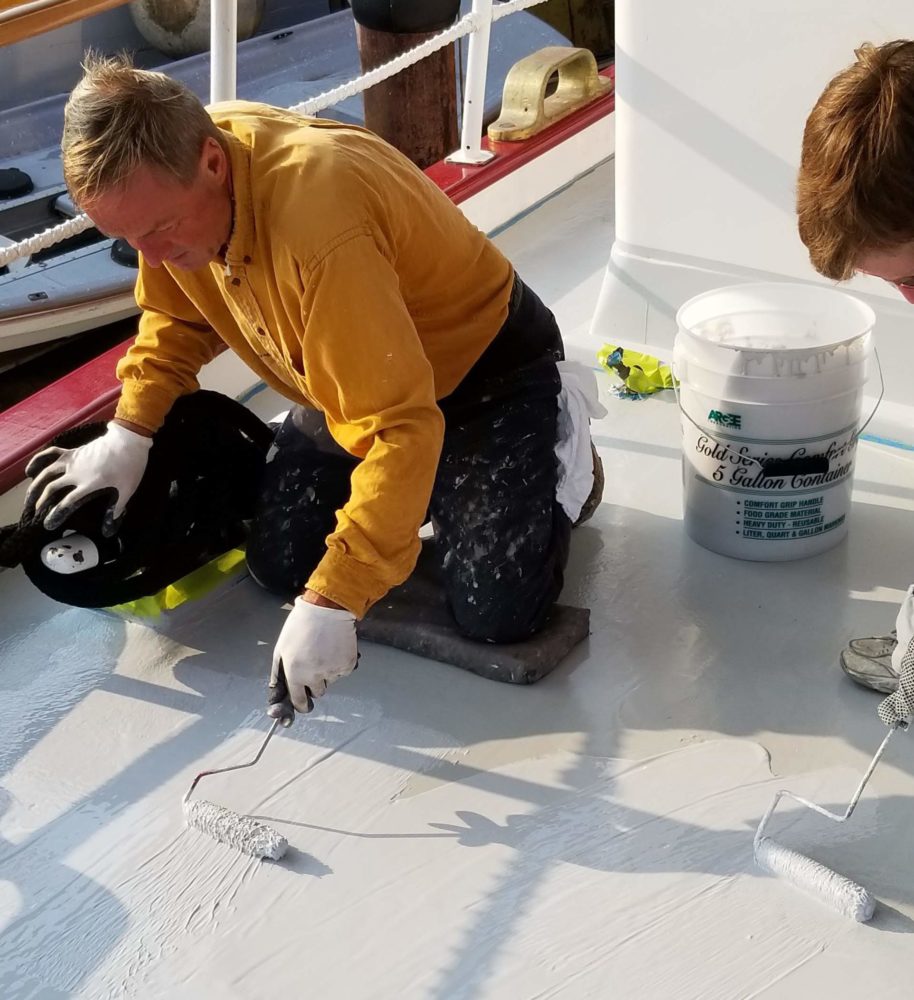
So Peter mixed and supplied sand and paint, Mark painted, and Nancy broadcast sand while standing on the sponson and hanging off the railing.
Nancy started with a small quart bucket to use for sand broadcasting. Soon we realized that a 5 gallon bucket was more appropriate.

For our boat, that meant 300 lbs of sand broadcast over the deck. We all got pretty good at jumping from bulwarks to door thresholds without stepping on the deck, while carrying buckets of paint or sand. Here’s an amateur video of just part of the process (it’s not very exciting, unless you’re preparing to do the same and want to get an idea of what it’s like):
A day later, it was time to remove sand that had been refused. We brushed, vacuumed, and blew sand off the deck and out the scuppers.
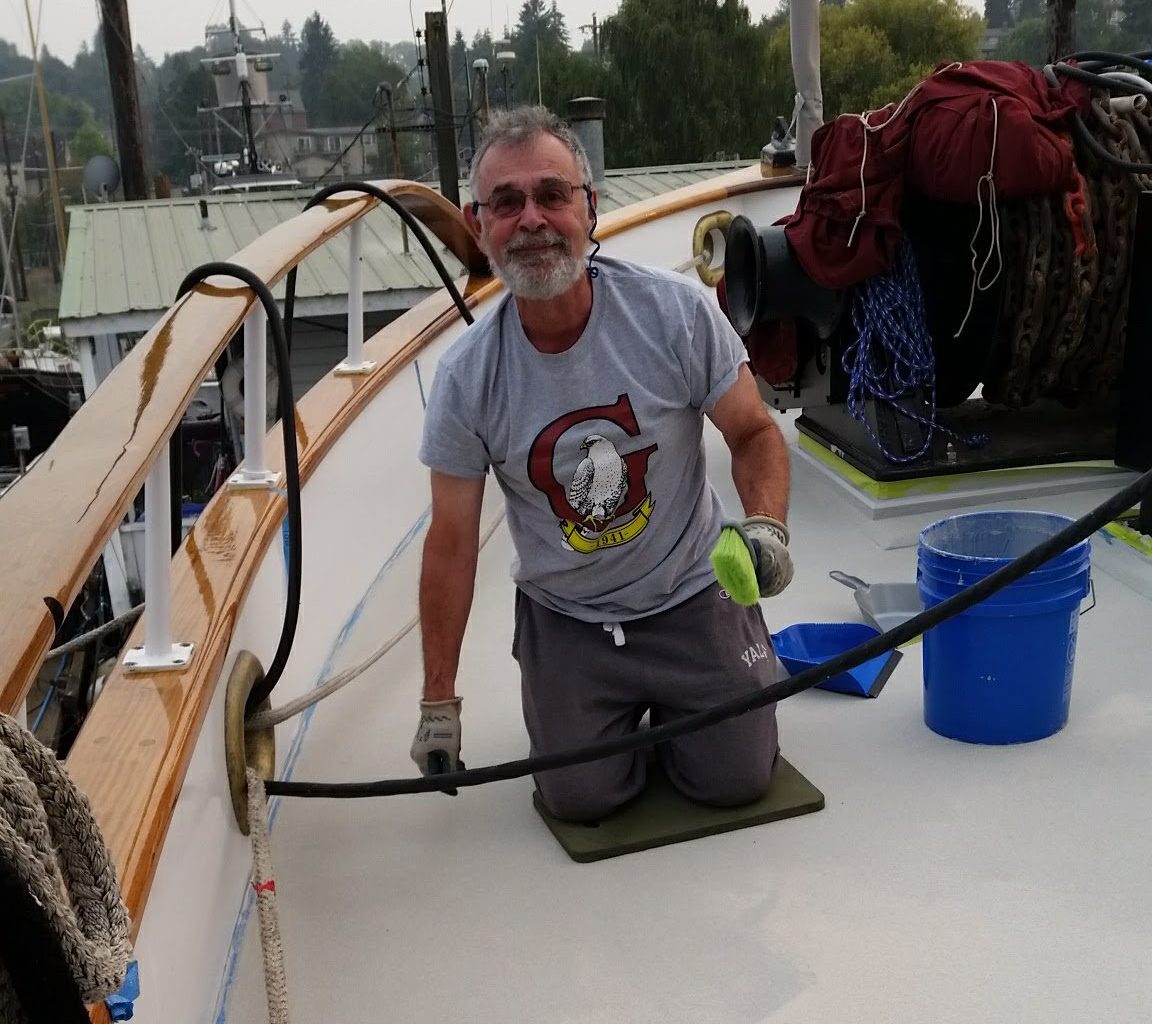
Although that might sound easy, it was actually very tiring. After we had removed all the excess sand, we added 2 coats of topcoat and we have a new deck.
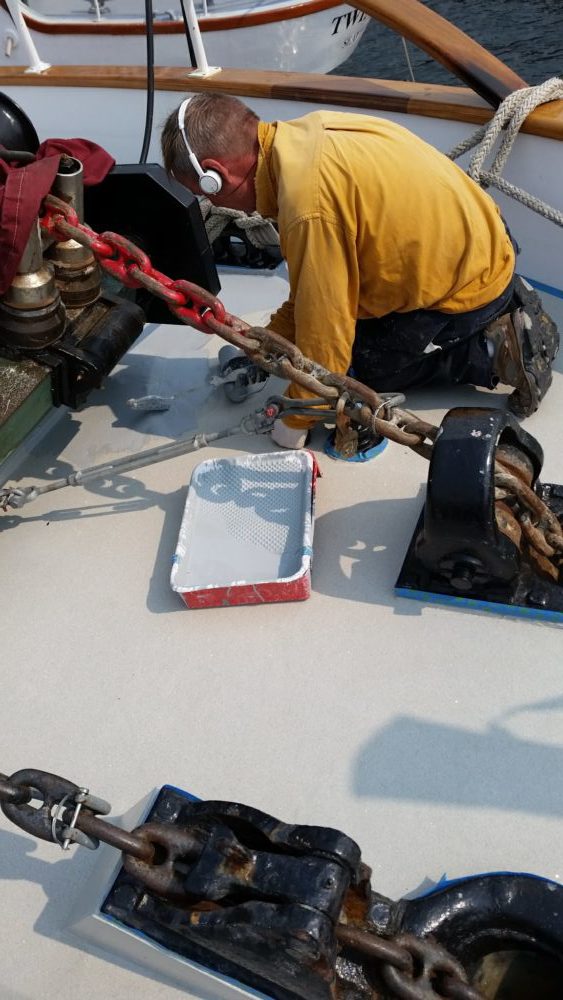
Top coat going on the deck
We’ve only had the new deck 3 months, but we couldn’t be happier with it. It’s much more grippy than the paint that was on before. It is easy to clean.