
We had a number of outside projects this winter.
PORT LIGHT (PORTHOLE) MAINTENANCE:
First, Gabe at LUBR made new urethane gaskets for all of our port lights windows. He made a mold and poured the gaskets over a week’s time. We counted them–there are 37! Some had the original 1941 gum rubber, and others had some newer neoprene. Our efforts at purchasing gasket material from Gardico had failed; apparently ours are not a standard size. It was our job to scrape and clean out the old gaskets, and the guys from LUBR came behind and put in the new ones. Obvious question–why are there 37 and not 38 or 36? Take a guess in a comment to the blog.
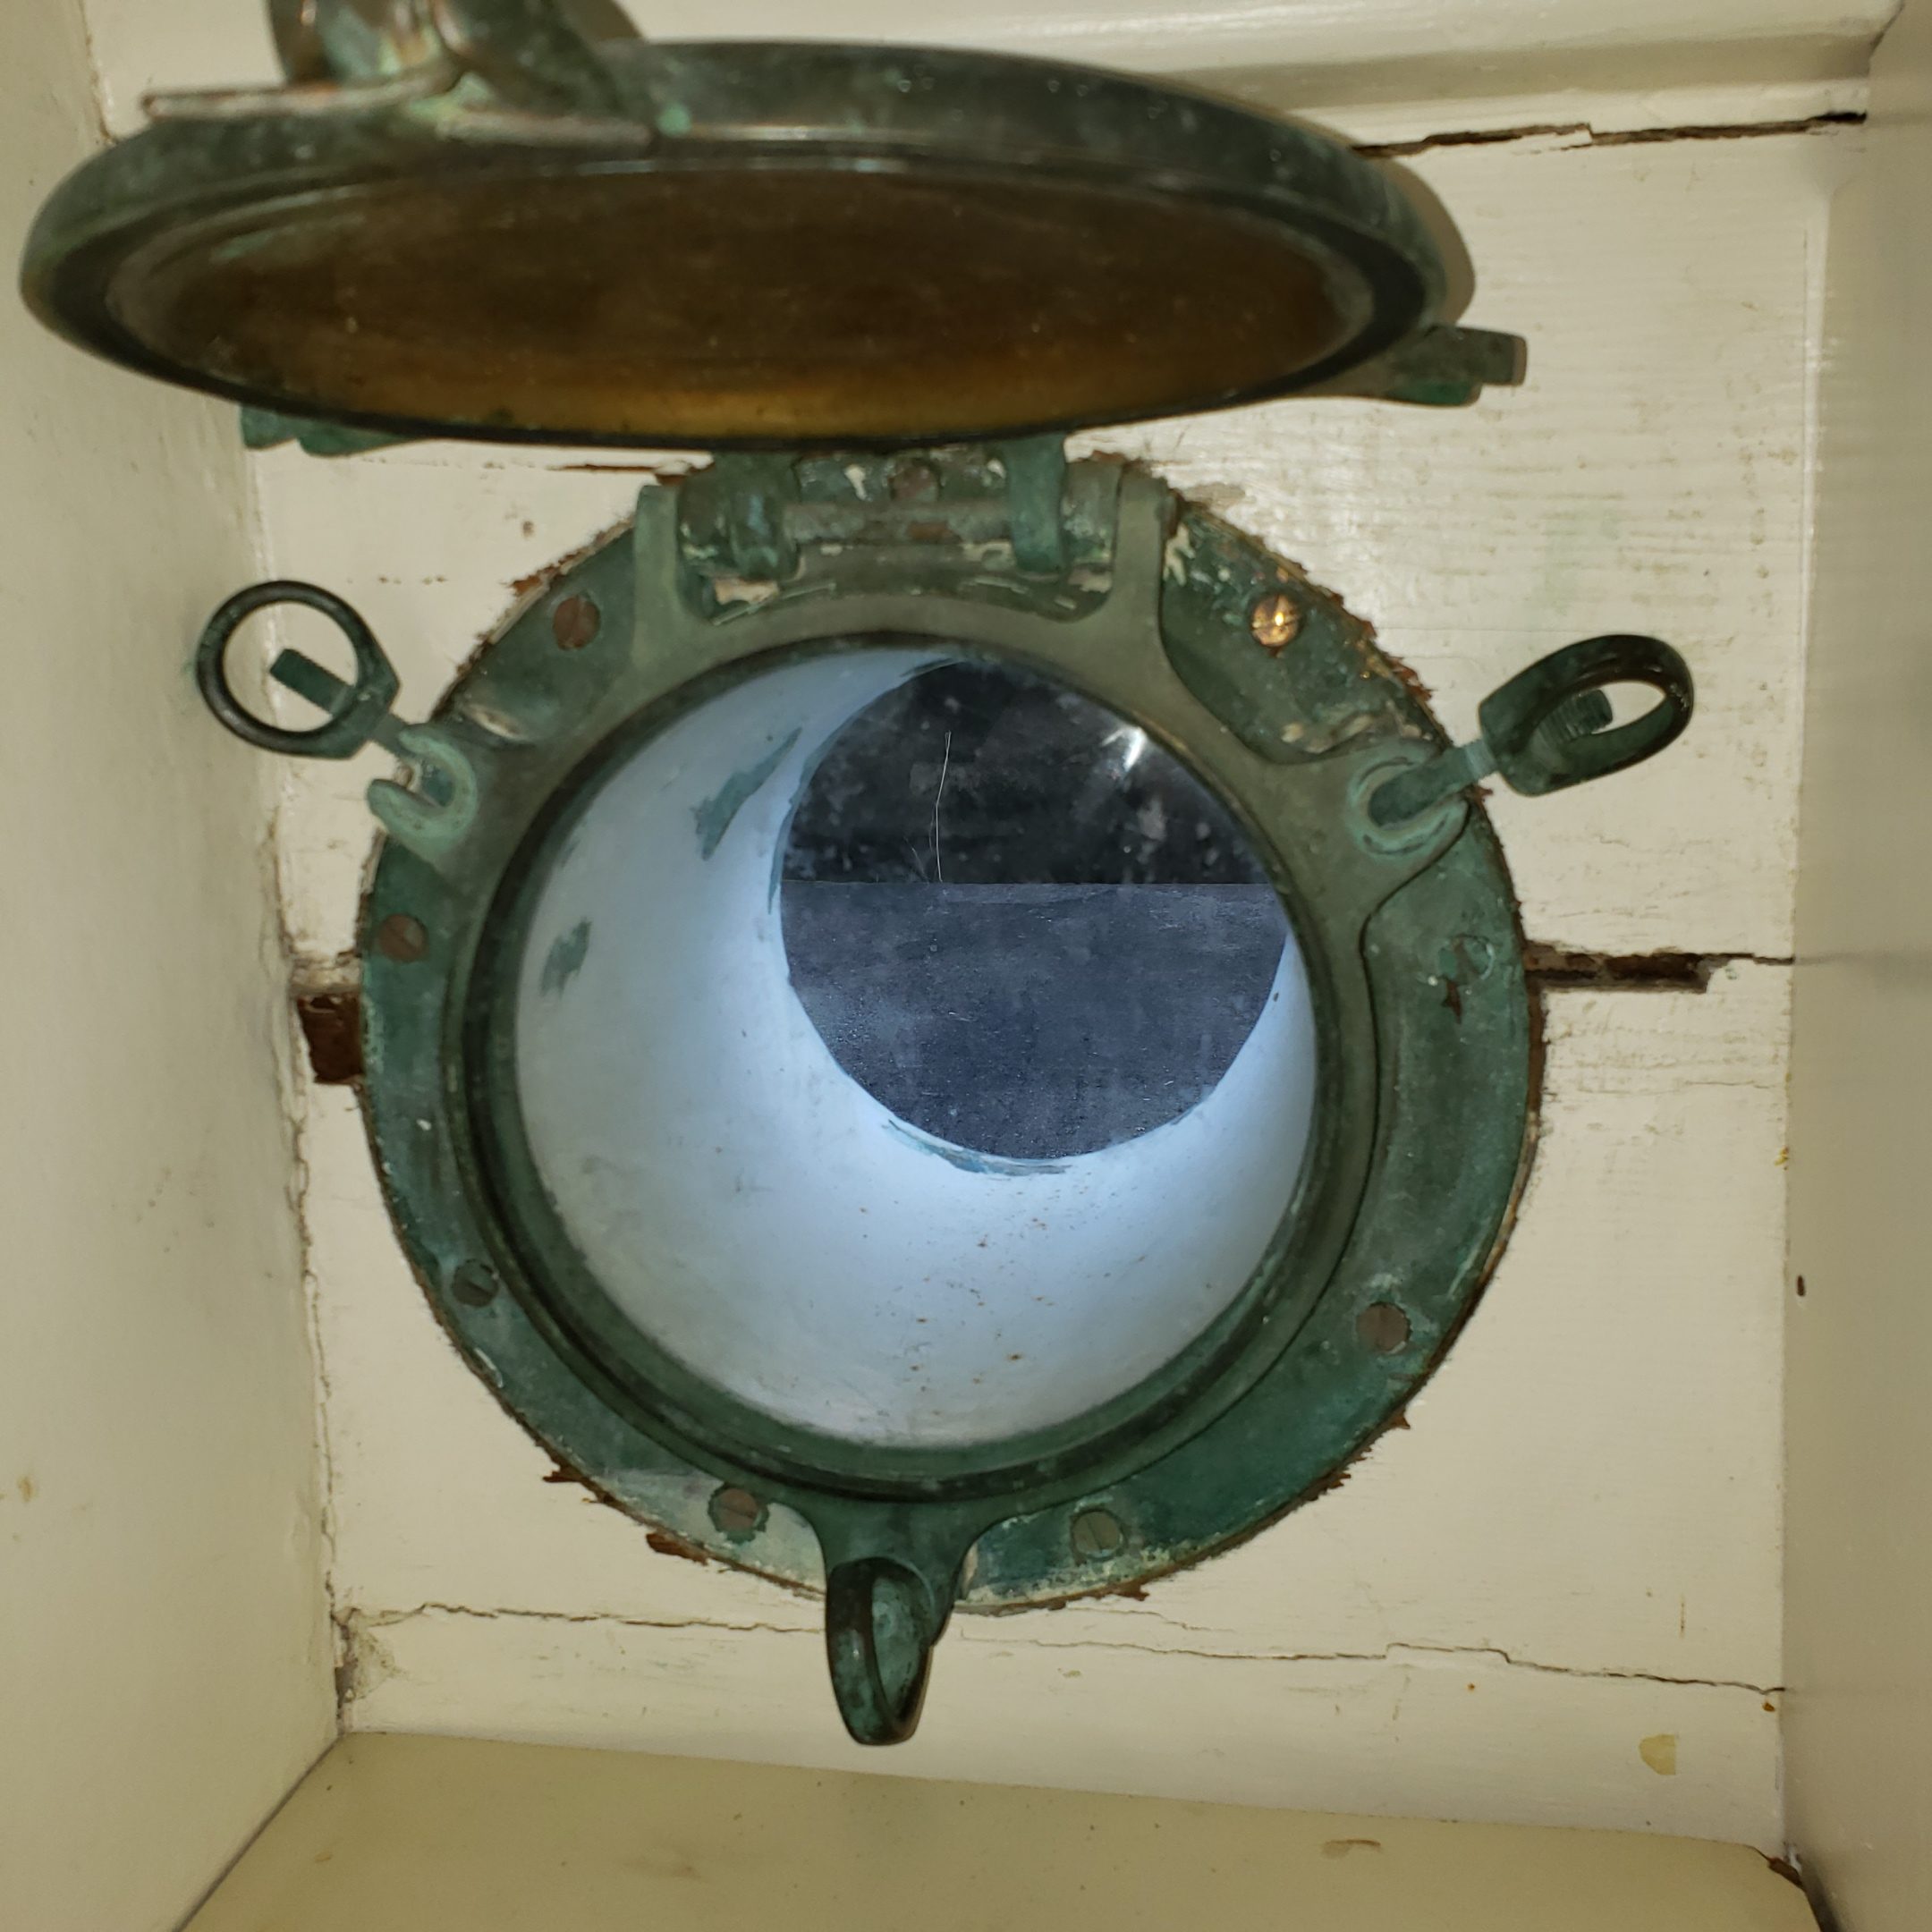
Port light after gasket was removed 
Mill marks on port light
Our second porthole project was getting functional bailnuts on all opening portholes (a few portholes will never need to be opened–those under the pilothouse floor and those inaccessible in the engine room). The bail nuts are used to tighten down the port holes and make them waterproof. Over time several of the bail nuts had broken. We had replacements made by the Port Townsend Foundry, who always do an incredible job. Now we can dog down all portholes. Gabe also made us a bailnut wrench out of starbrite. Clever!

Example of an original bailnut 
Bailnuts made by Pete Langley at PT Foundry
The third port light project involved Kim making a new porthole ring from one we had picked up at Fisheries’ swap meet, and refastening loose screws on the other portholes. We had lost one ring last year in rough weather on our trip to Vancouver.
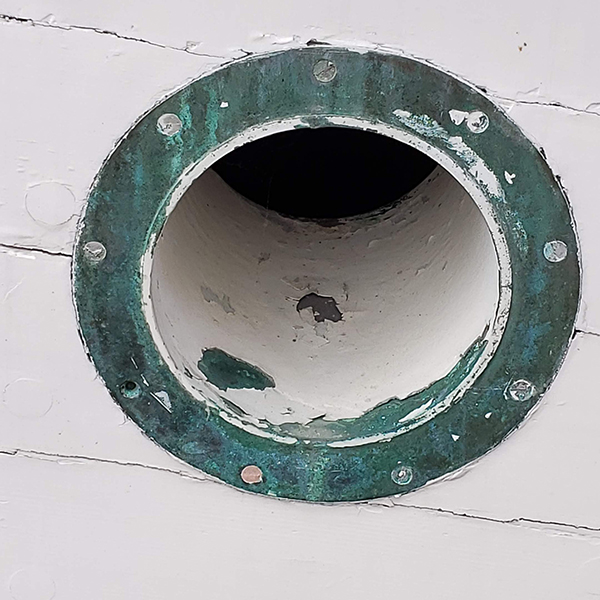

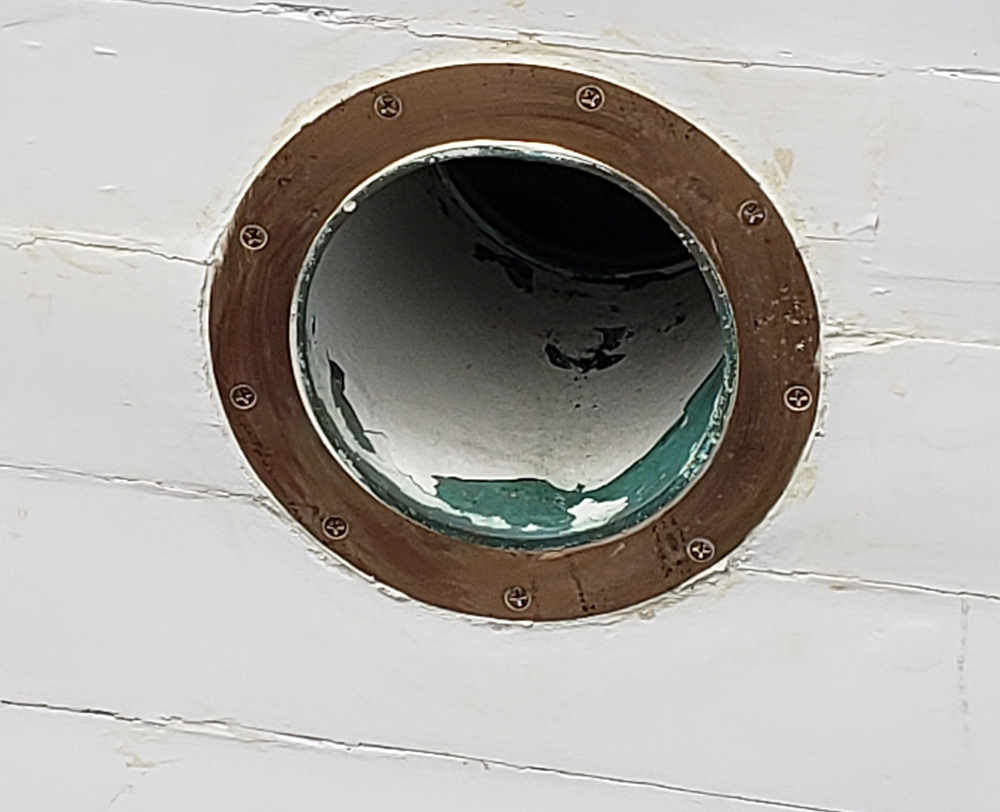
The last port light project was to replace 4 broken pieces of glass. We had several replacement glass pieces that came with the boat, but unfortunately over the years the edges had chipped, so they couldn’t be used, so we installed new glass.
PILOTHOUSE WINDOWS
There were 2 pilothouse window projects. One we did—it went well. We borrowed LUBR’s glass-carrying suction cups (the kind you see when contractors are installing large mirrors or shower glass). One of us pulled up on the windows that had been stuck down since we purchased the boat and the other tried to move the crank. The mechanism that raised and lowered the windows has quit working, and getting access would require significant remodeling of the pilot house.
Side note: The gizmos that make windows go up and down are called regulators (in cars and on boats). Last summer, Jim S got interested in our regulators and found the original patent for our Kearfott Engineering Company regulators. Here’s a link to the drawings by Waldo Kraemer: https://patentimages.storage.googleapis.com/88/fb/8c/b4442fd1624675/US2002322-drawings-page-1.png

Our goal was to get the pilothouse windows permanently up rather than permanently stuck open (which necessitated taping the opening every fall/winter). Big improvement.
Peter will tell you about the second pilothouse window project. He and I take a different view of it.
CLEARVIEW DEBACLE
Debacle (Nancy’s view, not mine) is such an ugly word. This has been a long and complicated project. The boat came with a Clearview. This is a large round piece of glass located in the center of one of the pilot house windows. In icy weather, the inner glass rotates so quickly that the ice does not have a chance to stick to the glass, and one can see out the window. This was high technology wen the boat was built. Unfortunately the inner glass had cracked, so it was not safe to operate. Realistically, if we were ever in a situation where we needed the Clearview, we would have suffered multiple lapses of judgement! However, the Clearview is a cool thing (it’s the most often asked question when people tour the boat – “What’s that round thing for?”), so I wanted to repair it this winter.

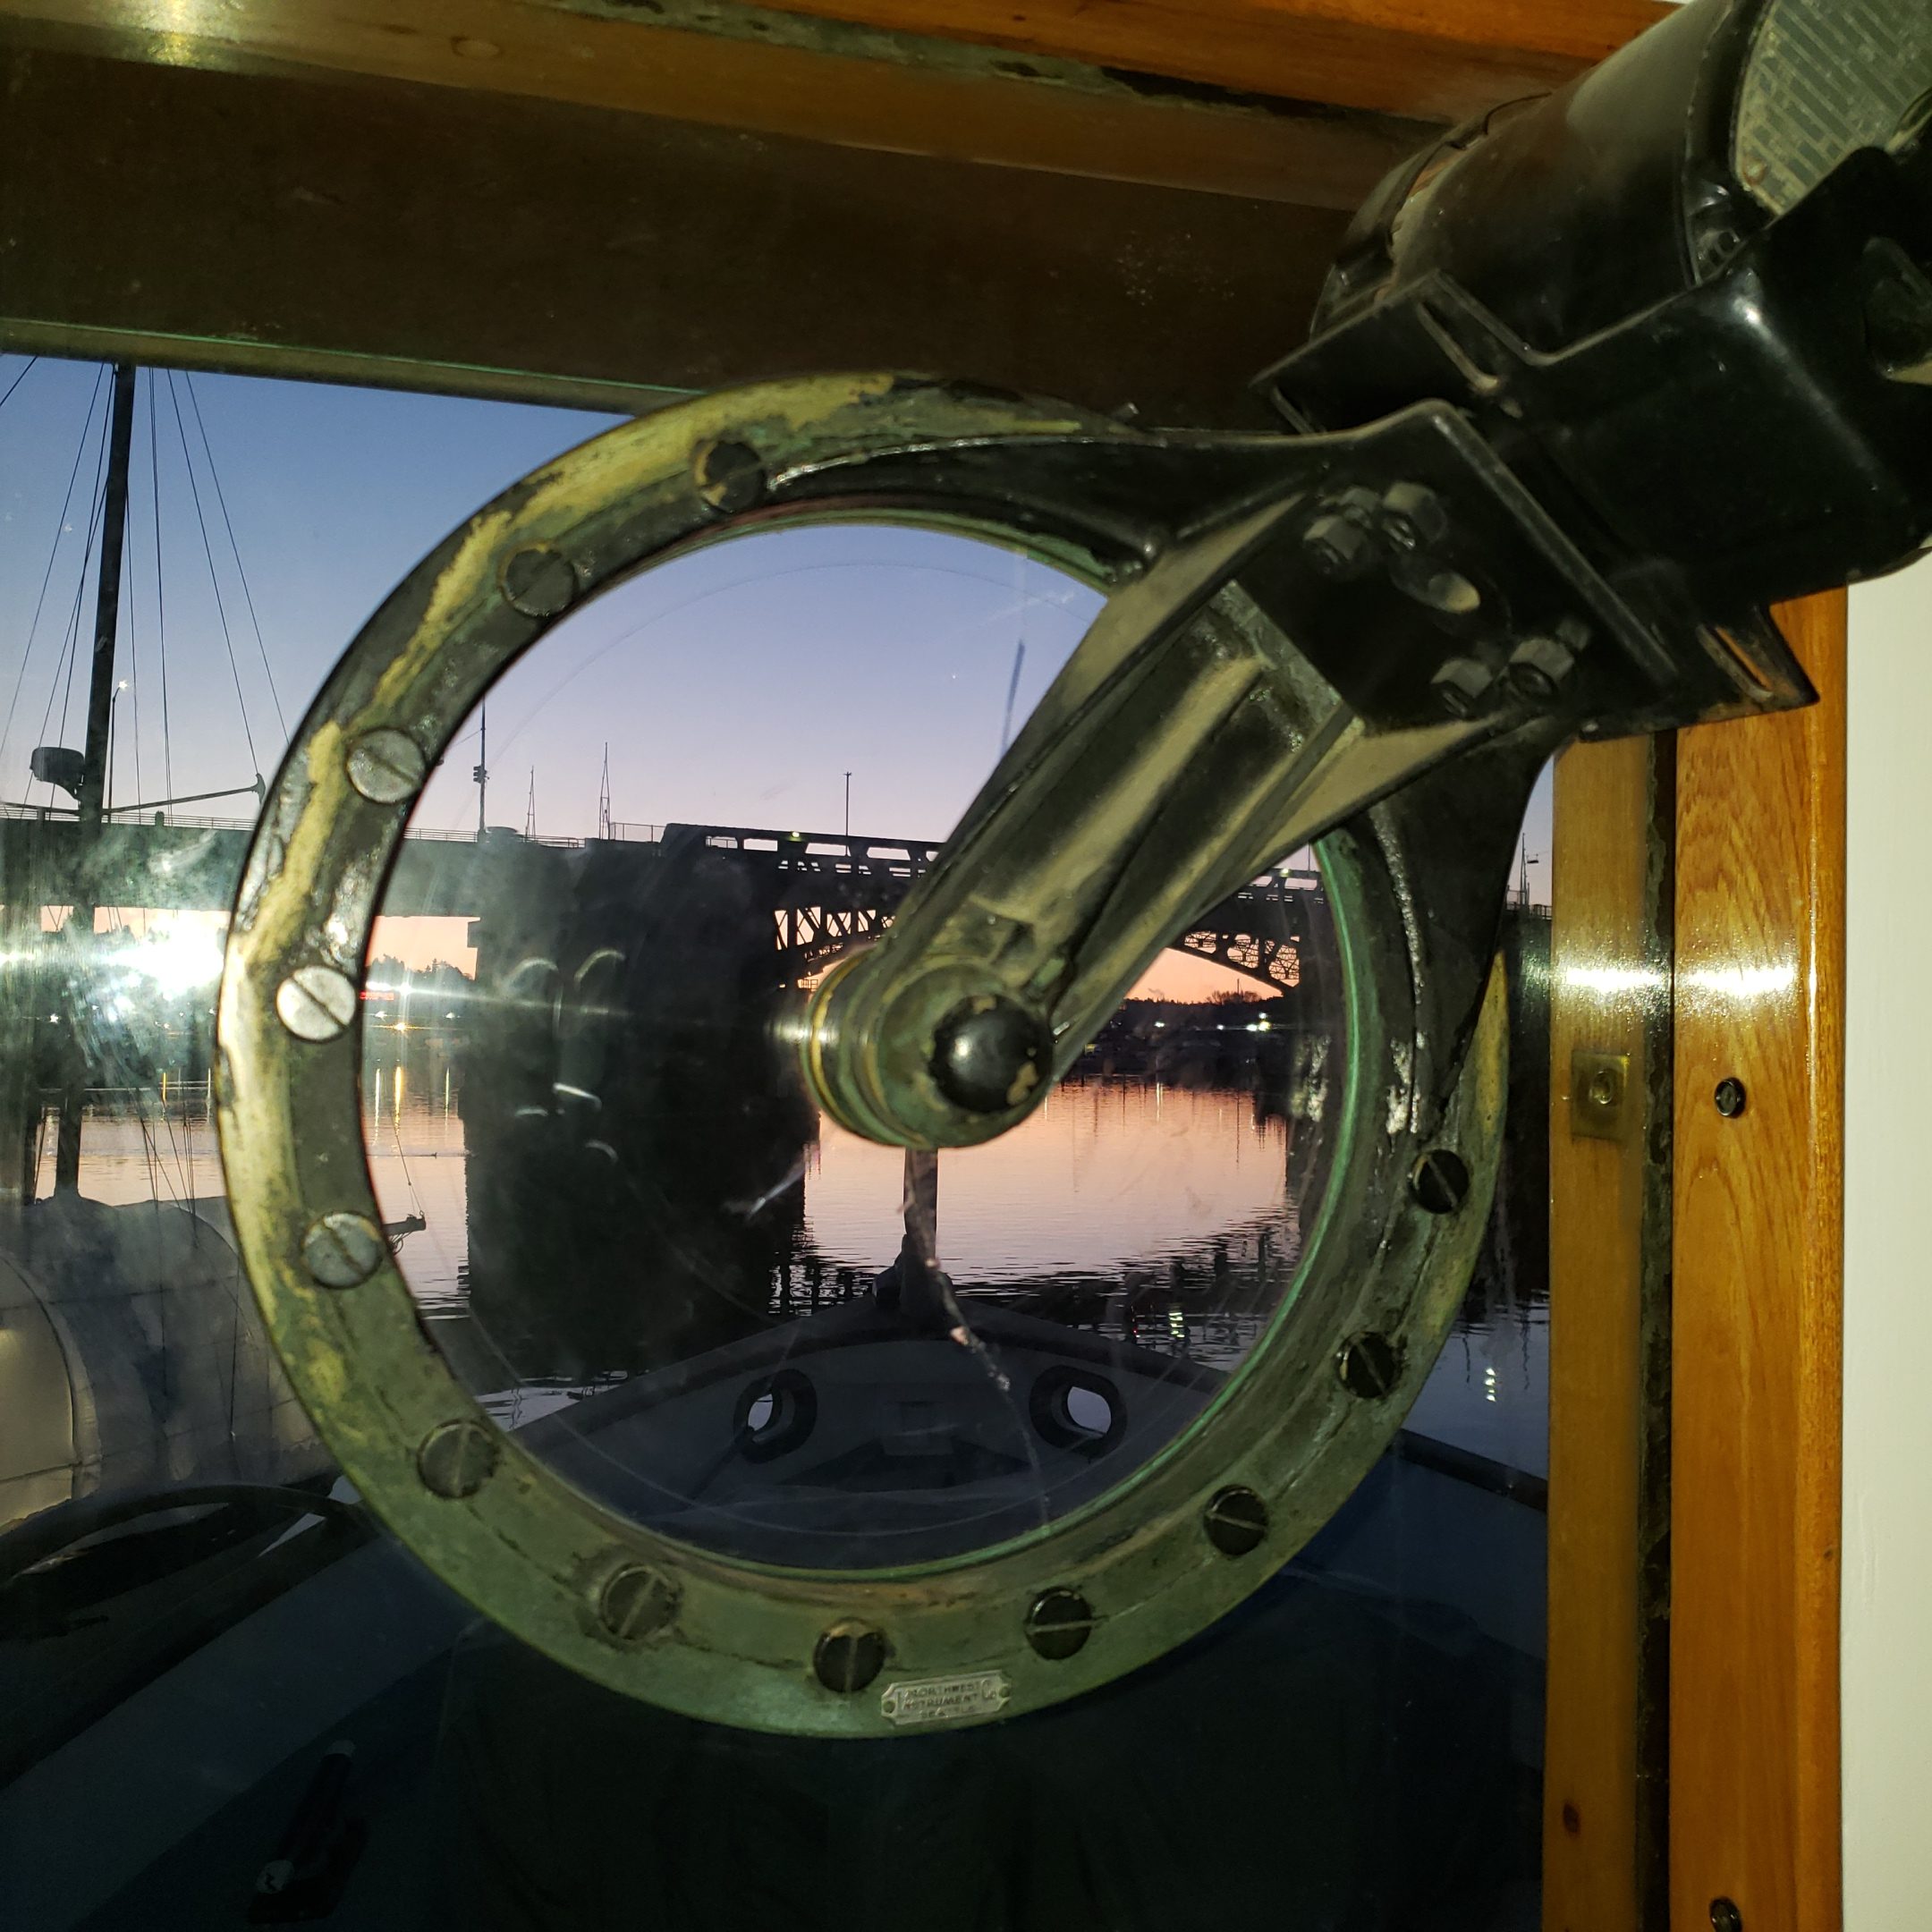
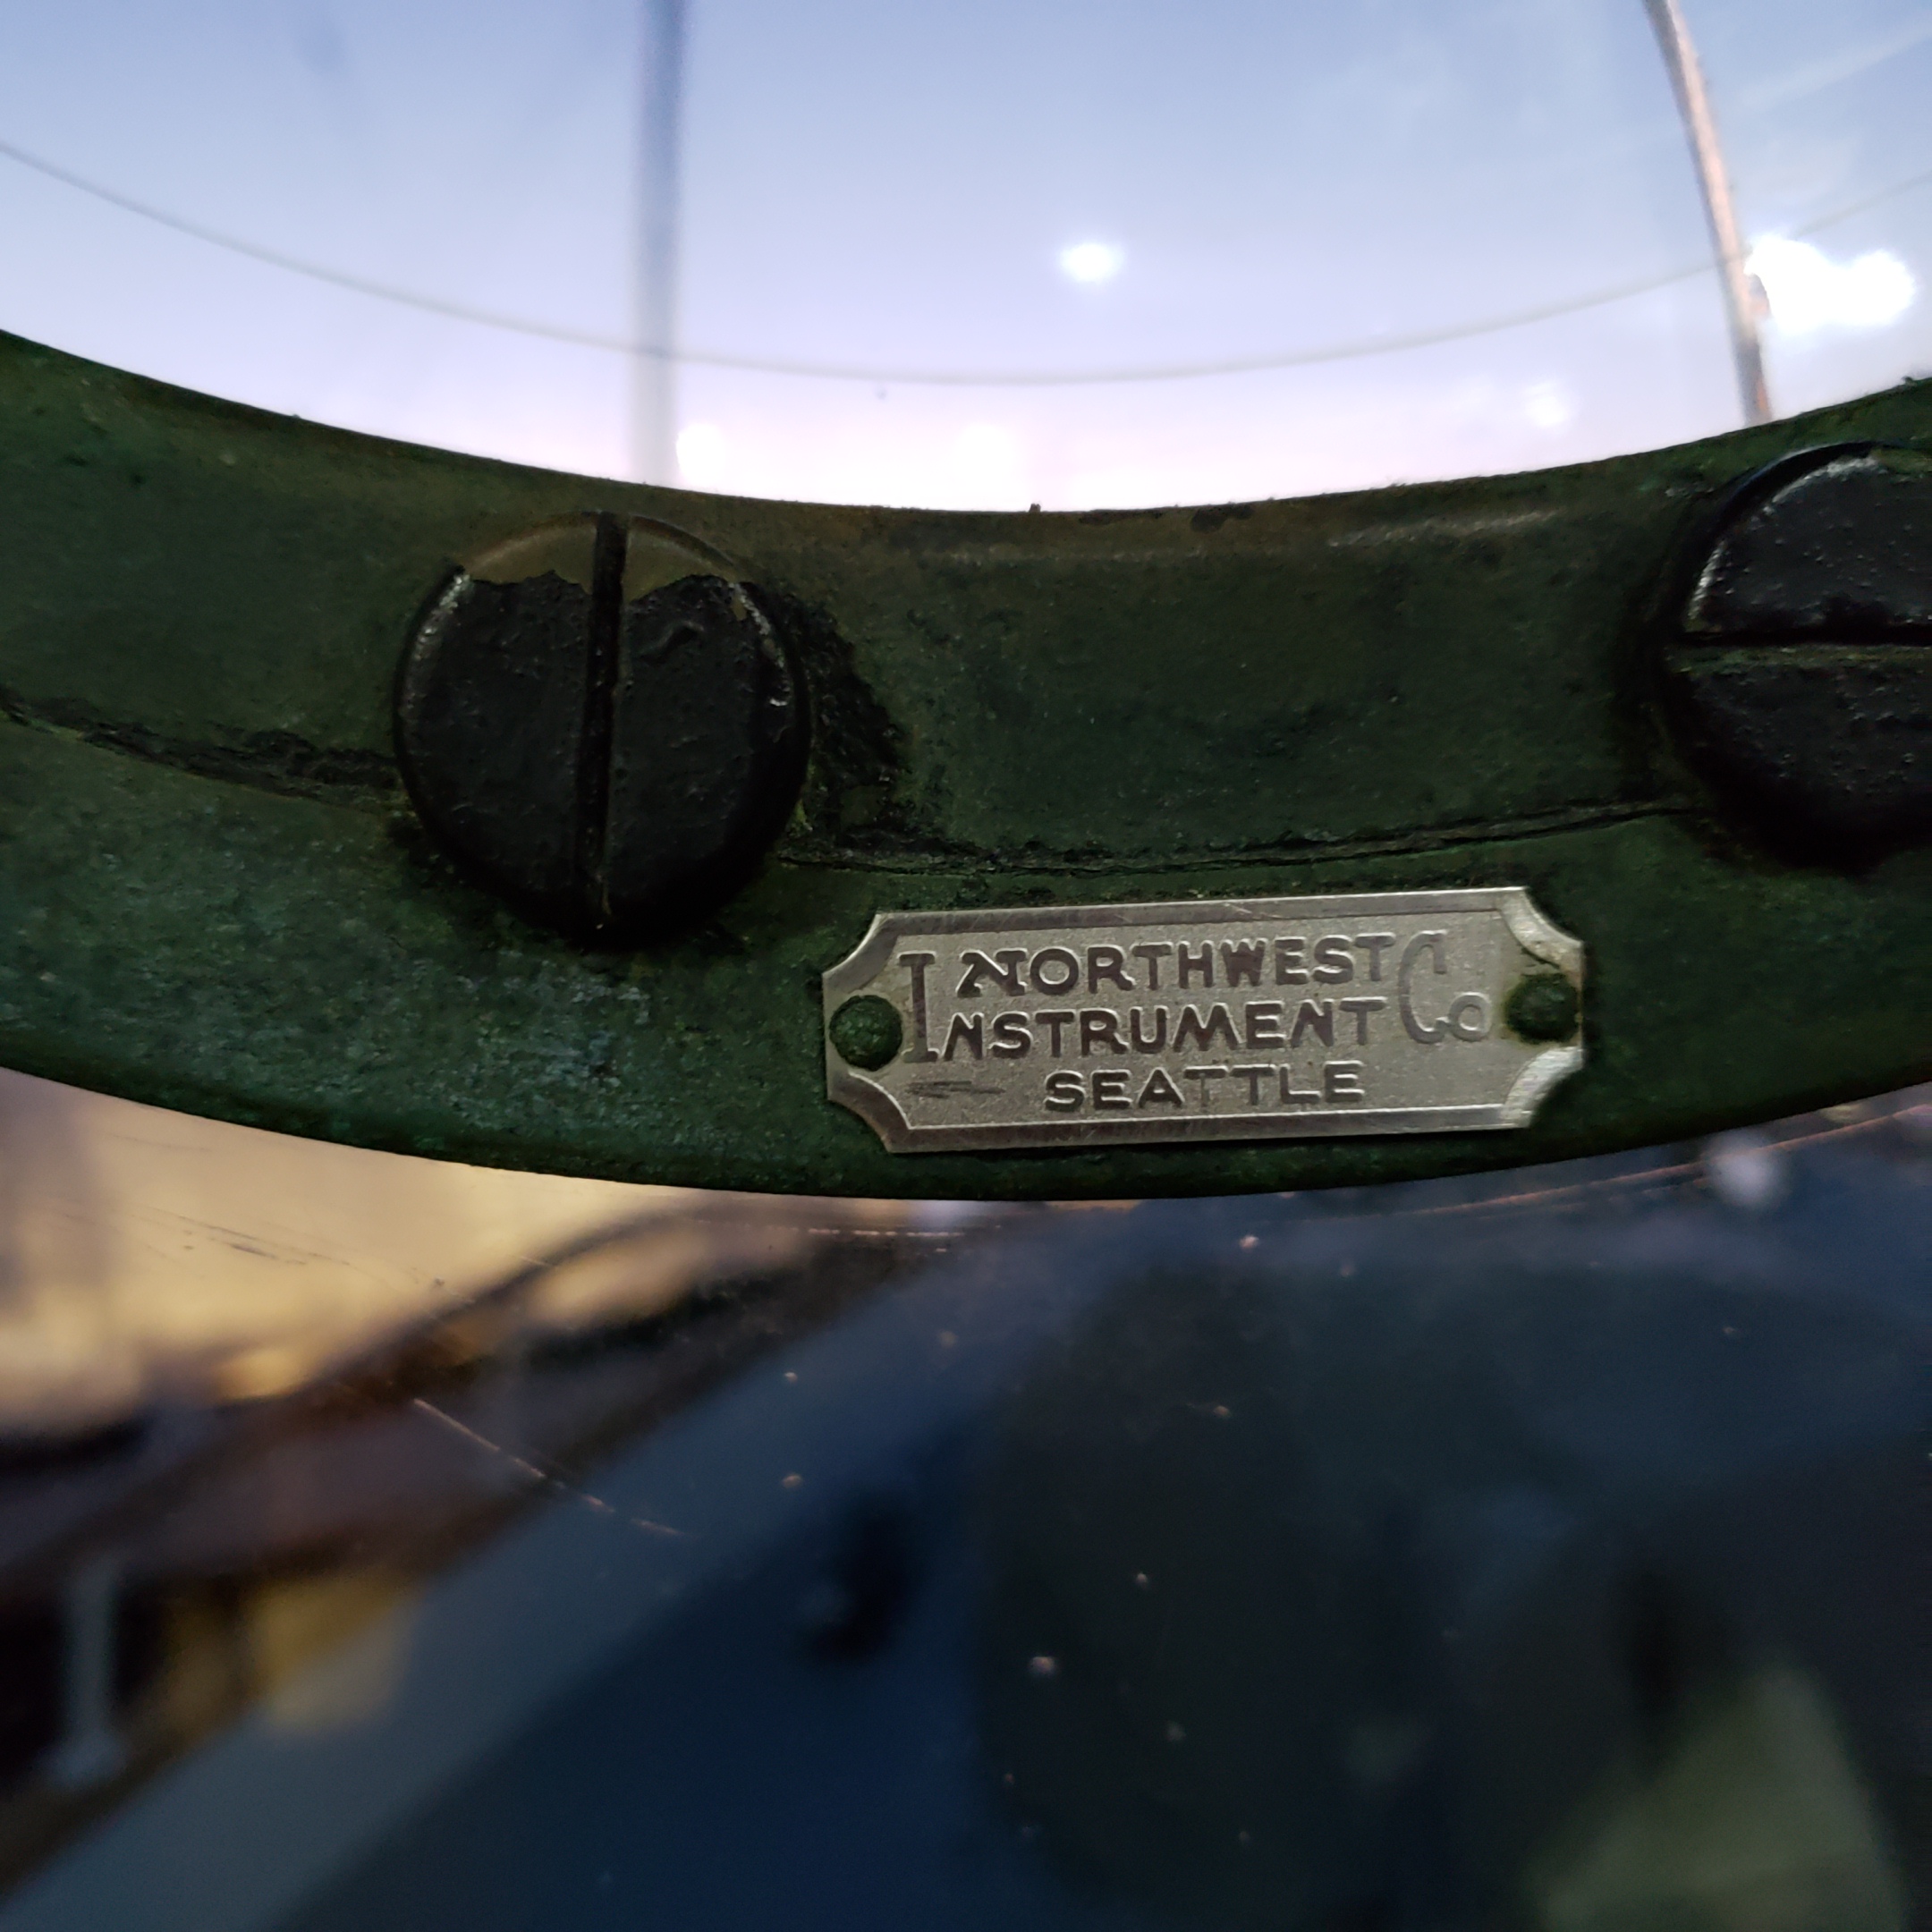
The project became an ever-deepening rabbit hole.
The original plan was to remove and replace the inner (round) glass. Unfortunately, no one could figure out how to get the glass out in one piece (the magicians who knew have all left this world). The bearing assembly that held the hub together would not loosen. Plan B involved a custom made socket wrench for the hub, but to no avail.
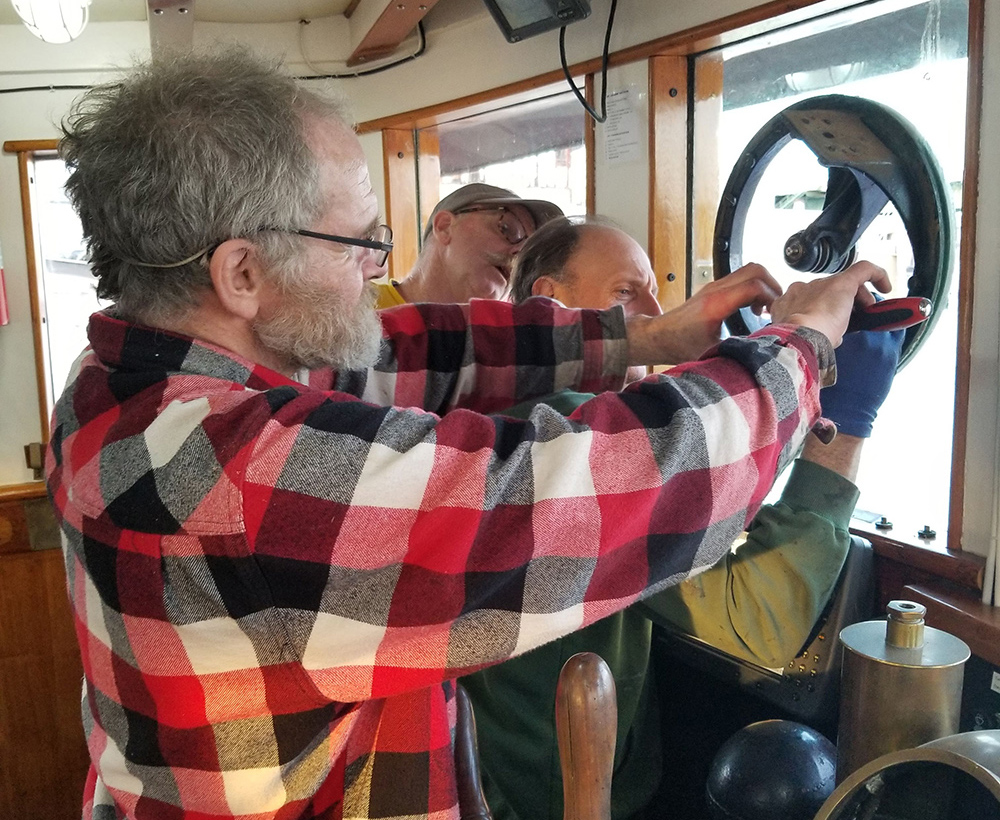

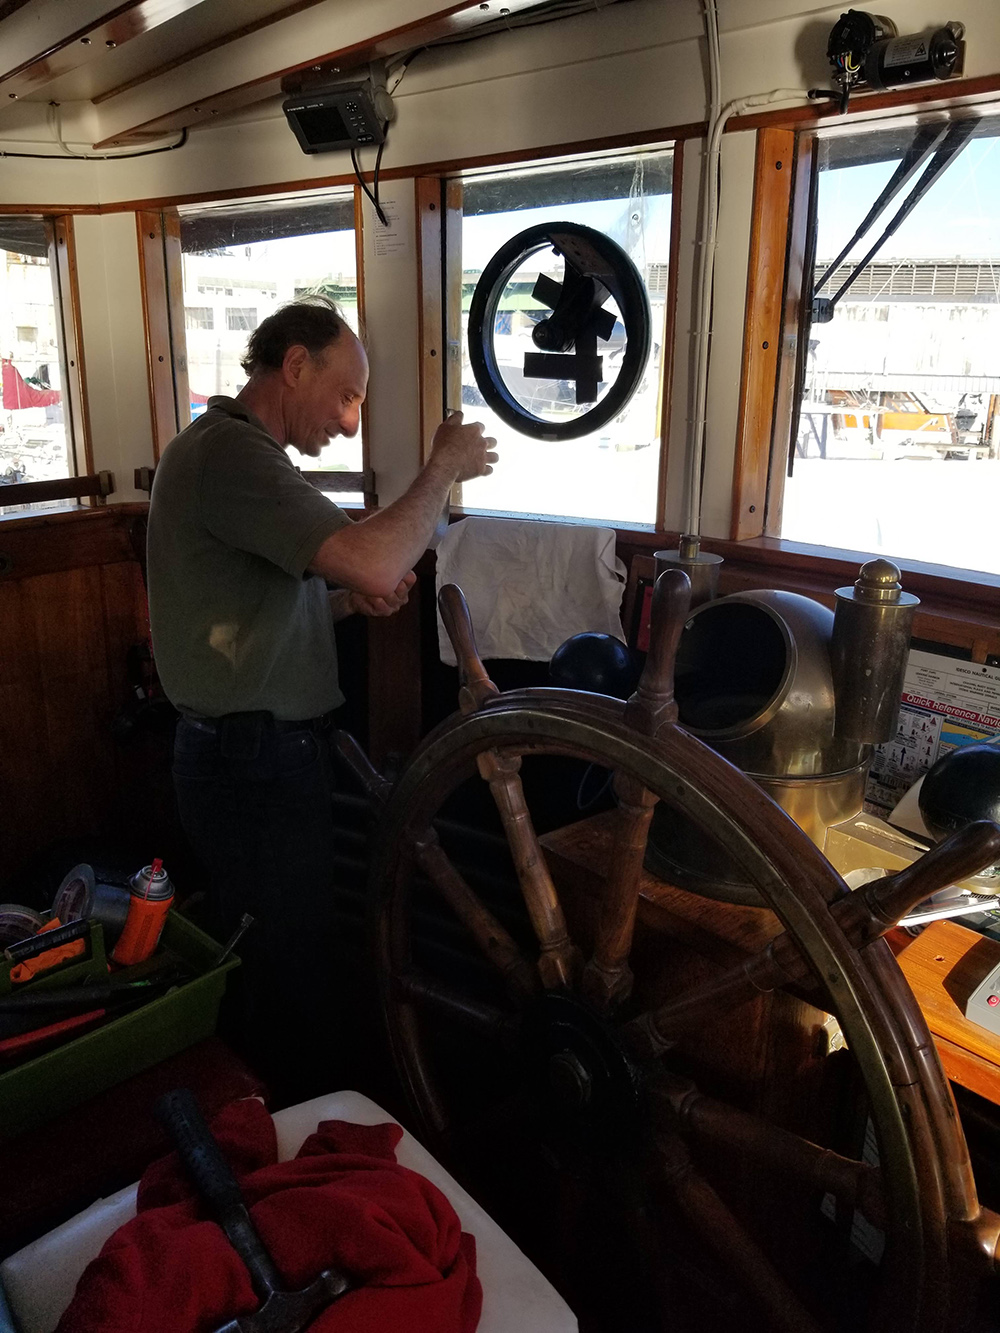
Plan C arose out of frustration. The guys broke the inner glass circle, hoping to make it easier to remove the bearing. Didn’t work any better than the earlier plans.


A big part of the problem was that all this work was done with the window in situ, where one couldn’t apply the amount of pressure needed to free up the bearing nuts.
After about a week of failed attempts, we decided to pull the plug. We removed the entire window with the Clearview in it and replaced it with a solid piece of plywood. This was followed by several days of heating, solvents and pressure on the extracted window before the hub finally gave up.

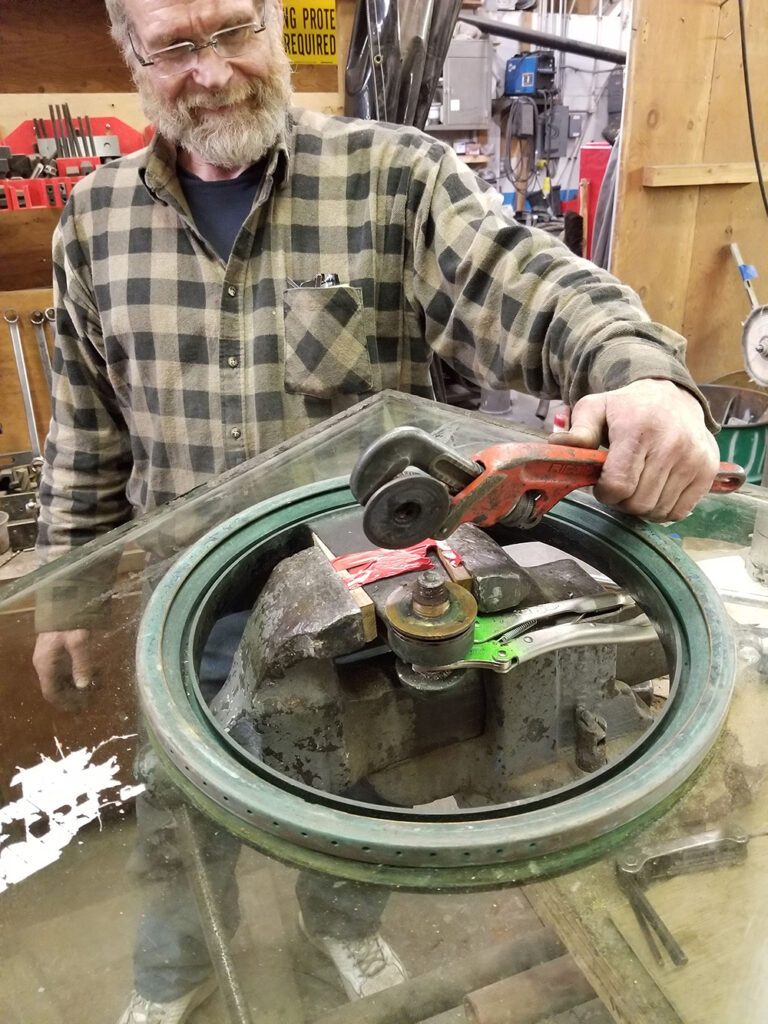
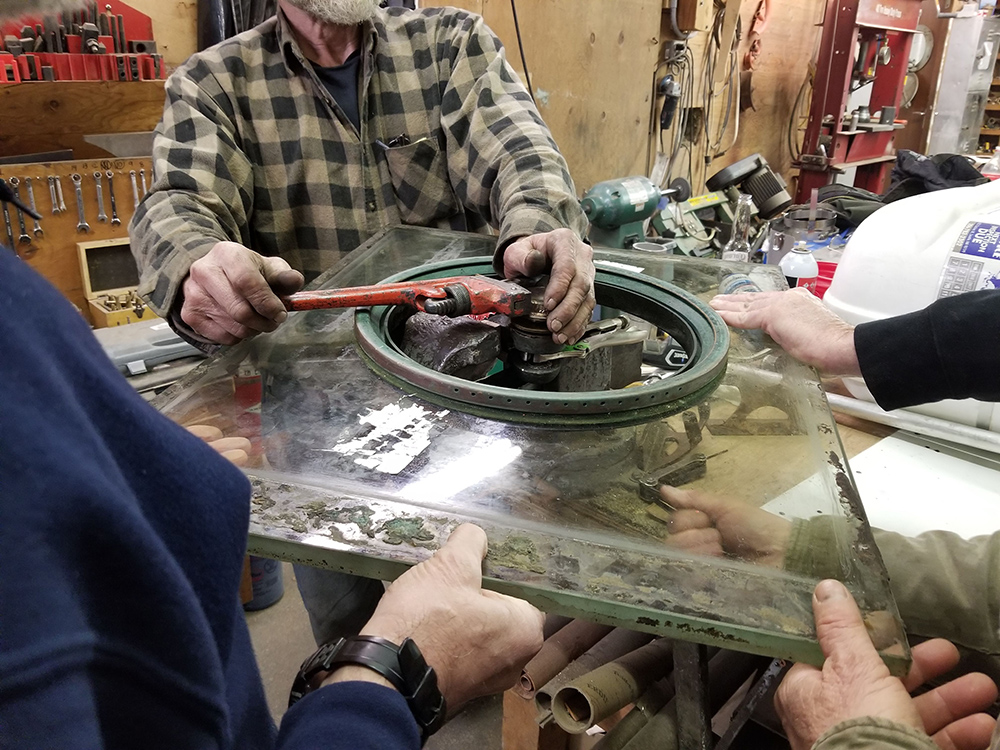
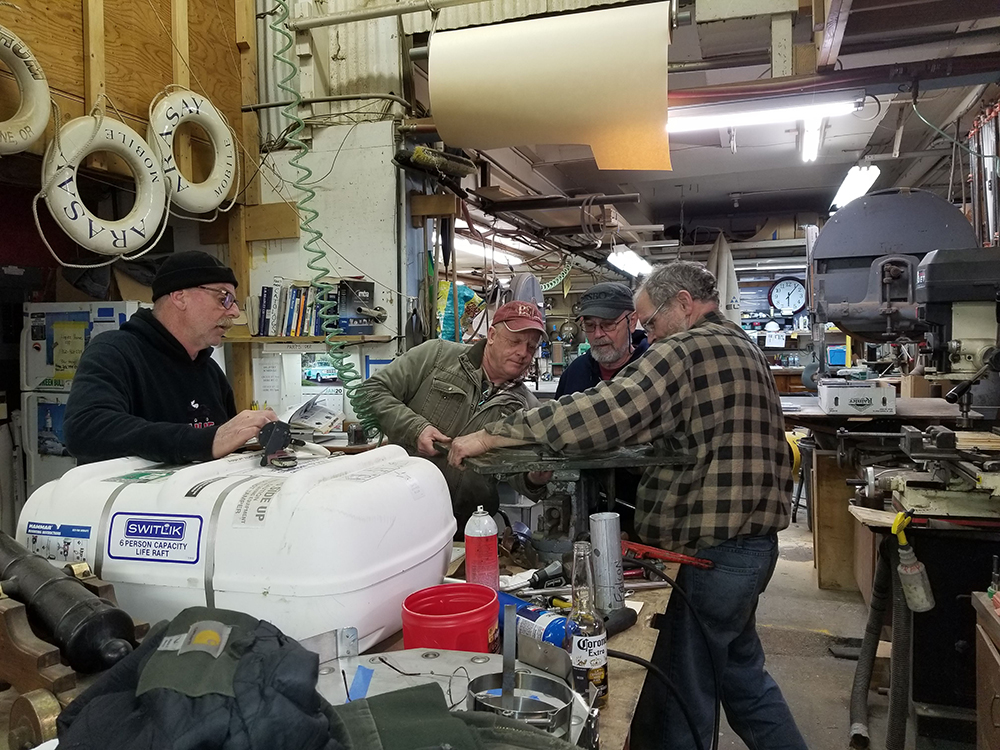
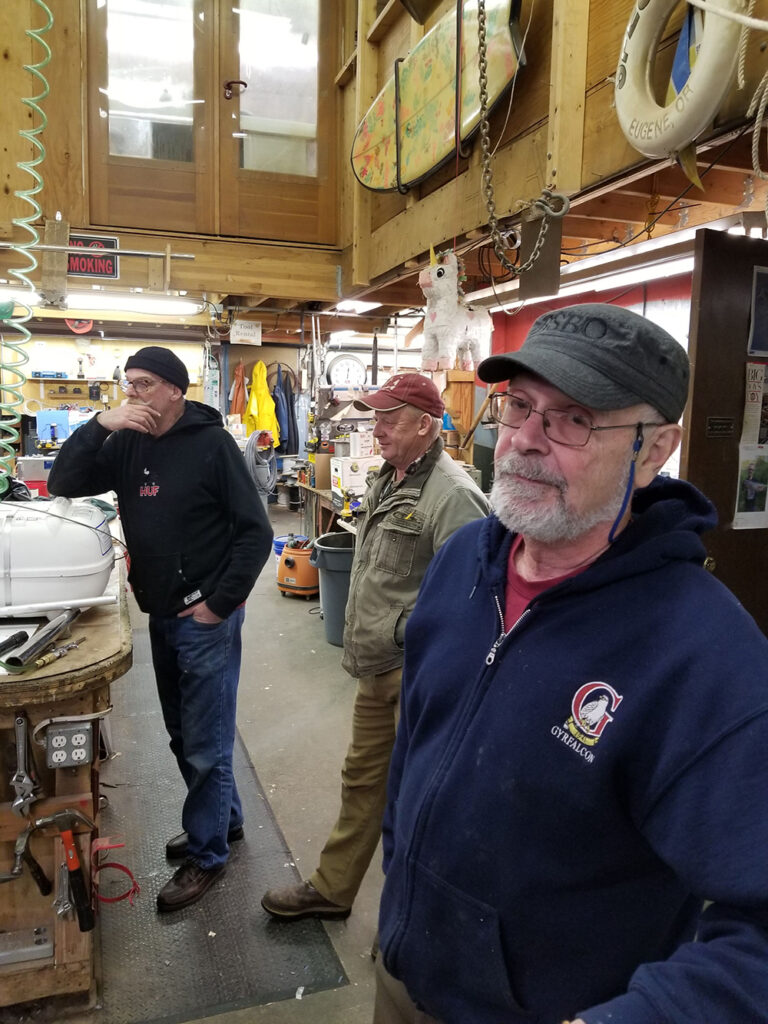
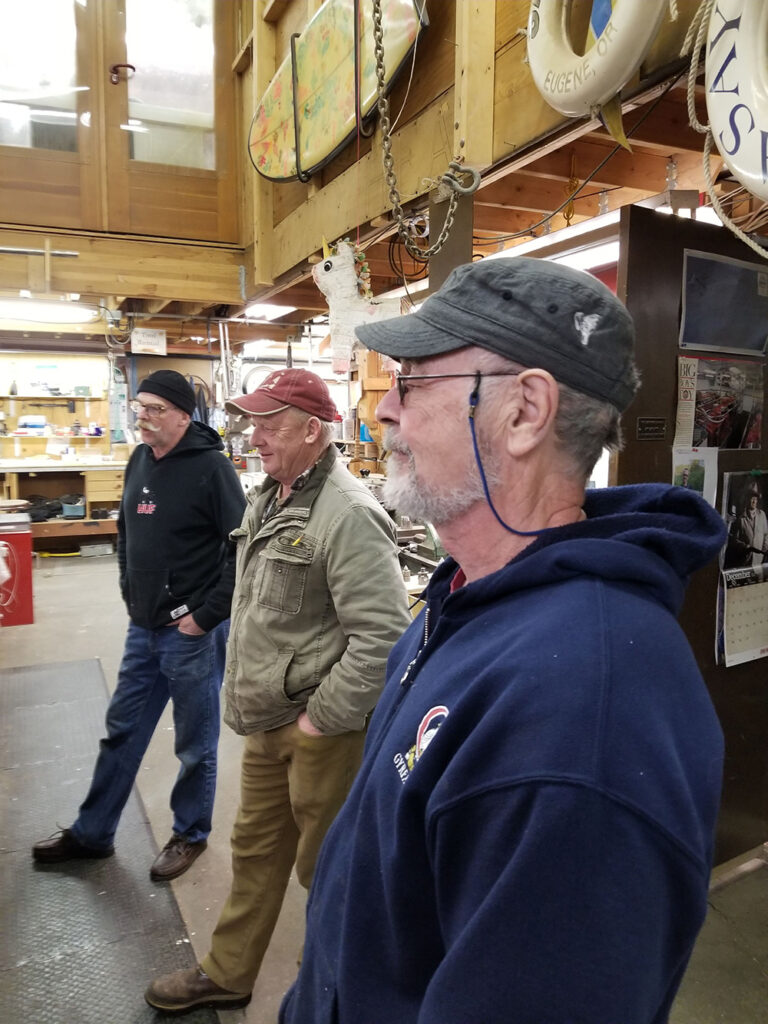

Now all we have to do is find replacement bearings for the 79 year old originals, have a new glass piece made, and hope that the shaft was not damaged in the process (probably an unrealistic hope, considering the amount of force applied over the process), so that the unit would not self-destruct when turned on the first time.
I think I have lost this battle. It makes me very sad. While we ponder options, LUBR replaced the plywood with a glass window. On the other hand, I’m beginning to like the view through the solid piece of glass!
OTHER OUTDOOR PROJECTS
We caulked the starboard acrylic windows (which completed a project from a year ago that never seemed to get done), and fixed some cracks in the paint near the same windows. Hopefully, this means no more leaks in Peter’s closet.
We put a new transducer on the GFB. This was a project that we had thought long and hard about–how to have a transducer that wouldn’t break off when we went fast (as the original one did) We found several options on line that flipped up at high speed, but ended up with our own creation as seen in these photos. Talking with the Garmin rep at the last boat show, he recommended using a solid thru-hull transducer, mounted on one of the trim steps on the stern of the GFB. We built a tower over the transducer made from miscellaneous PVC sewer pipe fittings to protect it from people stepping on the transducer while getting on the boat. So far it works perfectly.
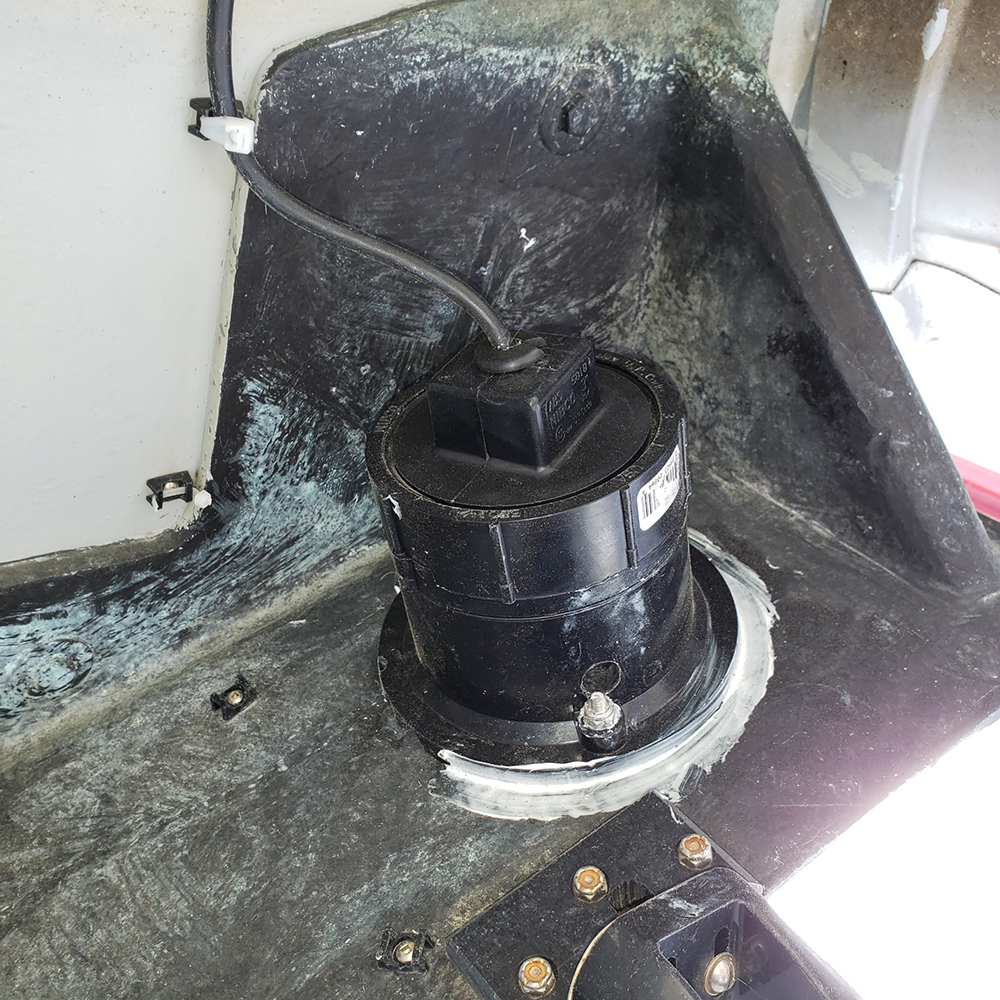
PVC housing for transducer 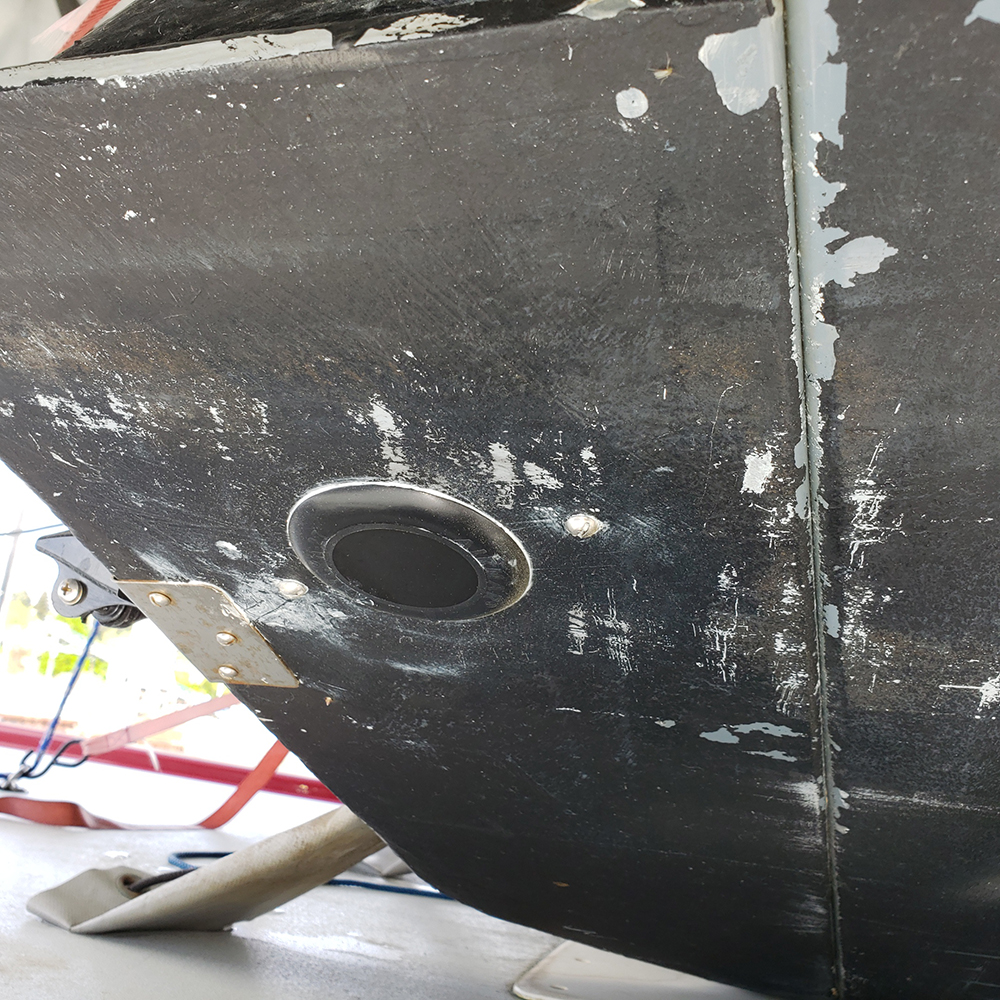
The bottom of the transducer
Part 3 soon…




Northwest Industries (across Commodore Way from the former Marco Shipyard) can fabricate glass with holes, curves, etc. and then temper it for you. They can also make laminated glass and laminate tempered glass. Your clear-view is just about at the minimum size that they can run through the tempering line but it may work. They don’t typically deal directly with consumers, take your drawings to McIntosh Glass on 14th and have them request a quote.
Send me a message if you get stuck, I used to work with them before I sold my boat and moved inland.
Wow! a lot of work. I remember the clearview, I always felt that it should be awkward to look through it on a regular basis, and I wondered how often it was used, I assume not very often.
Thanks for the tour of the latest projects!