
We are going to share AK pictures at some point soon, but we have been very busy on some upgrade projects. We’ve described a few of them here: a new fish table, coping quarter round, and trimming out a hatch.
A new fish table
Several years ago, we bought a folding fish table that just barely fit into the lazarette. It worked well, but occupied valuable real estate on the fantail. And it was unattractive. Here’s a photo from a few years ago.

Our old fish table (groaning under a bounteous crab harvest)
The fish table plan
We’ve been trying to figure out an alternative to the large fish table We decided that the best place for the fish table was on the railing at the stern, so that the various offal bits would land in the water and not on the deck. There are a number of commercially available fish tables that mount on a pedestal, which was not ideal, so the question was how to attach one to a fantail railing securely. Here’s the schematic of our solution:
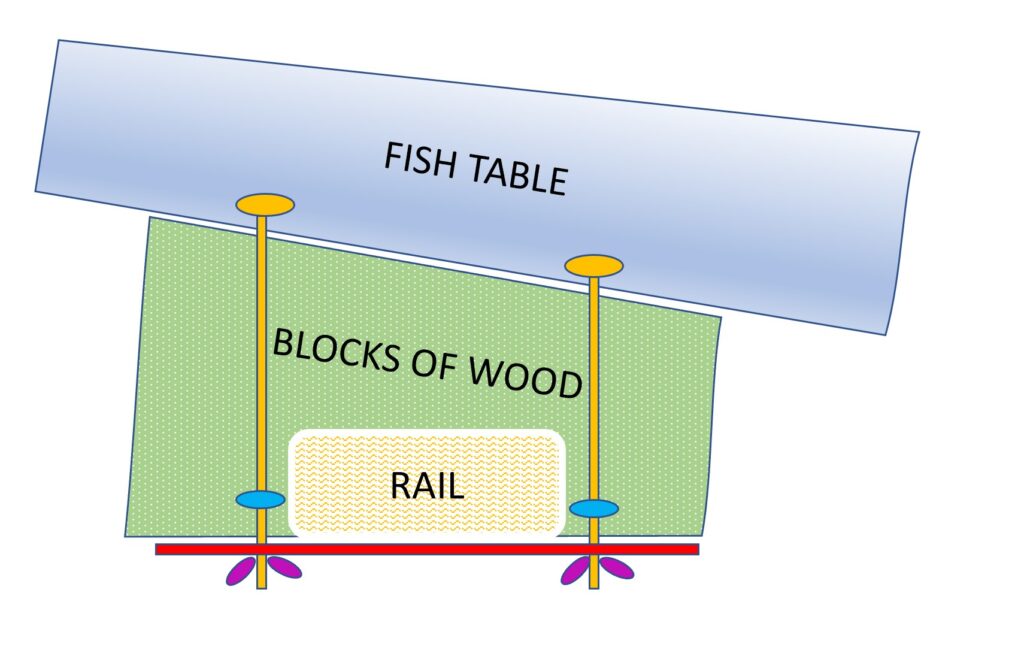
We fashioned the brackets from our spare teak collection, and milled some steel strips to hold the table on the rail. The end result looks like this.
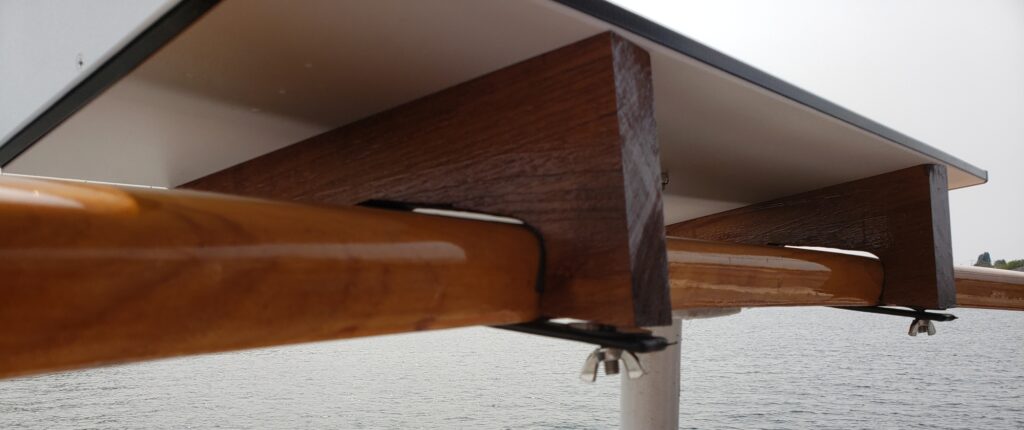
View of fish table from below, clamped to the fantail rail
And here it is from the top:
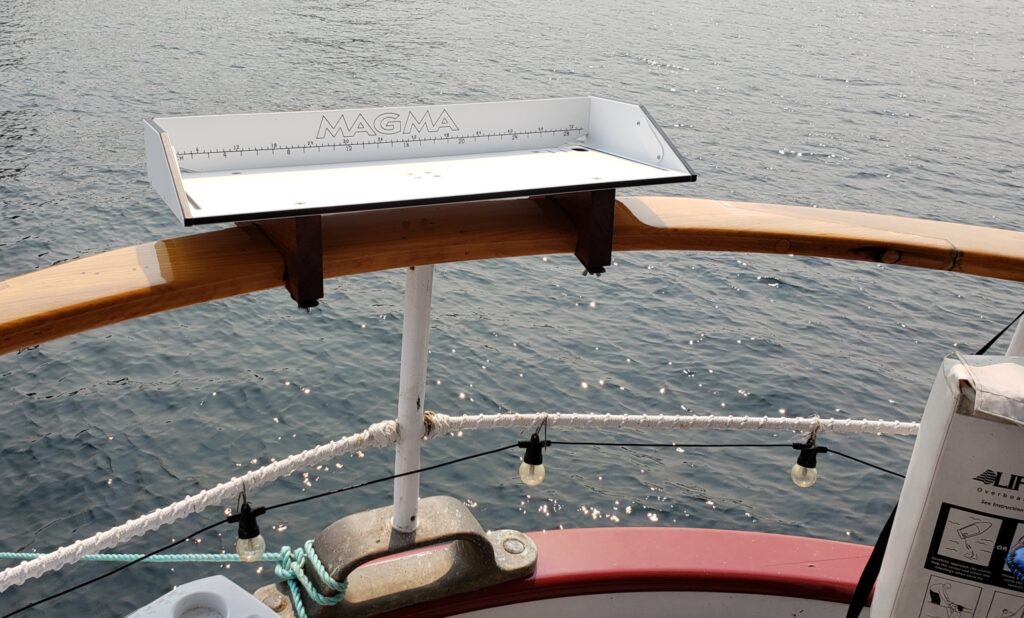
We’re pleased with the outcome. Now we need to catch some fish!
Quarter round
Second project was quarter round.
For some reason, our boat came with quarter round trim laterally along ceiling beams in the pilothouse, galley, and salon, but not along the walls (see photo for example). It always looked unfinished.

Pilot house without quarter round along the walls or around the hatch
So, with access to a woodshop for a few weeks, we went about putting up the missing quarter round. To add to the difficulties, some of the ceiling bays had one size quarter round aft and a different size forward. We had some extra quarter round, but not enough, so Peter went into the shop and turned a nice board into lengths of quarter round, and Nancy varnished the new trim pieces.
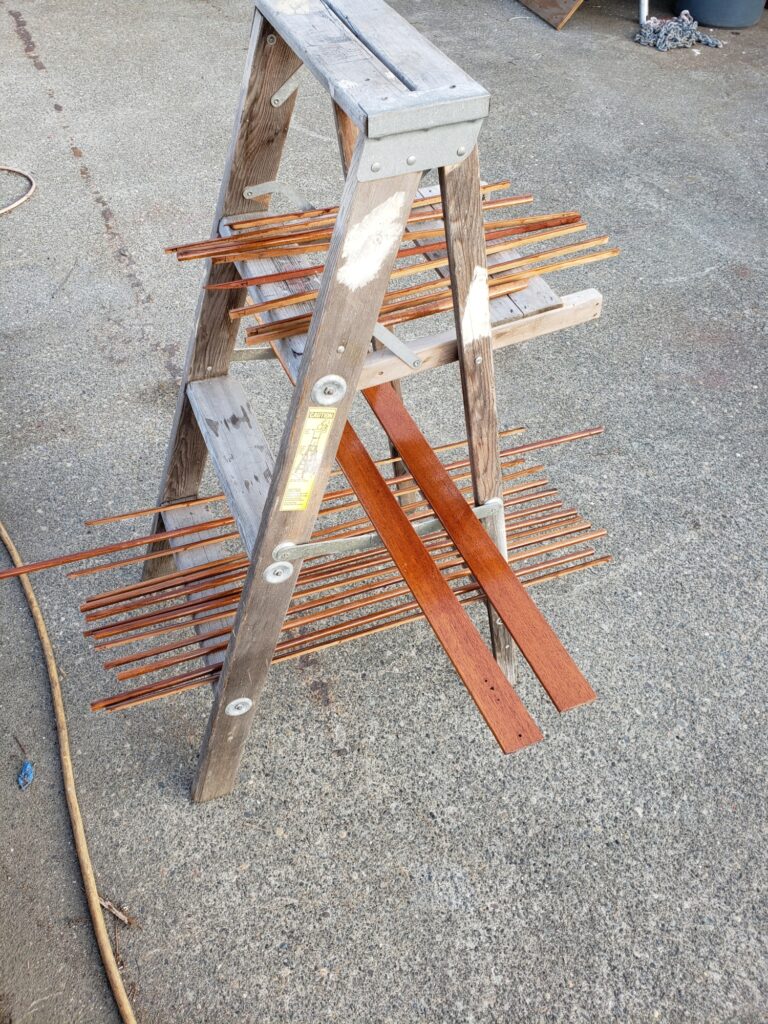
Pieces of quarter round and trim in the varnish booth
Measuring for quarter round
Each bay between beams was a different width. Each end of each bay was also a different width. First Nancy measured each distance (twice) and generated a master length list.
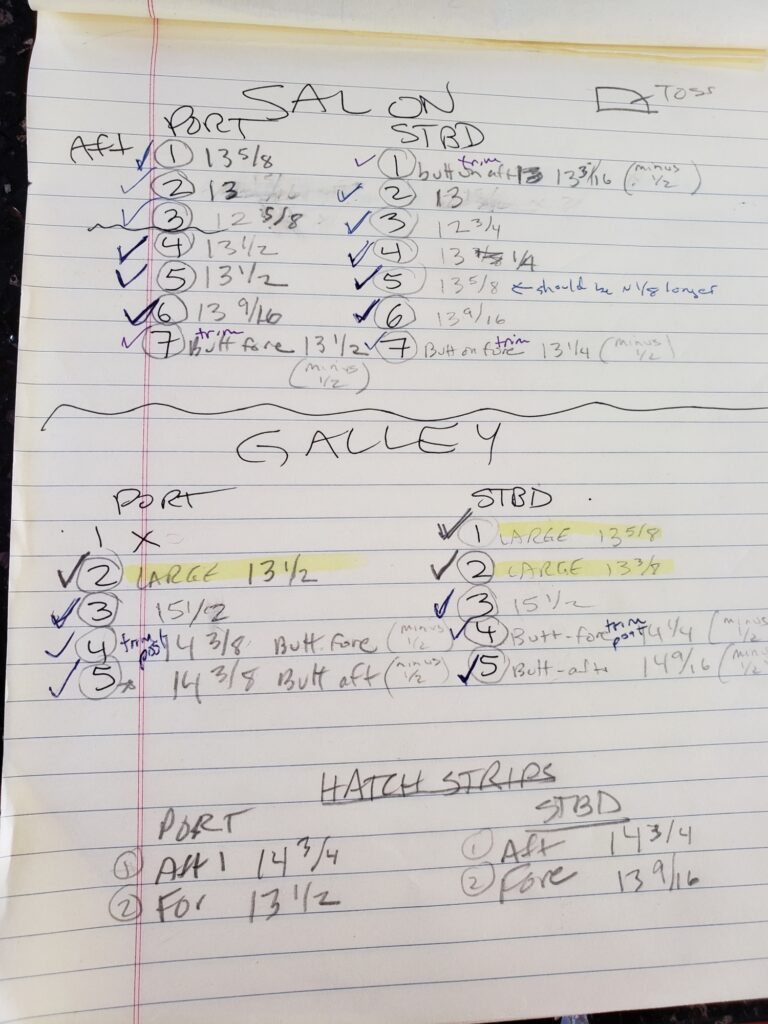
The master list
Then we made story boards to help confirm measurements and to use to cut the quarter round. Although a few of the lengths were the same for different pieces, we ended up with a lot of story boards
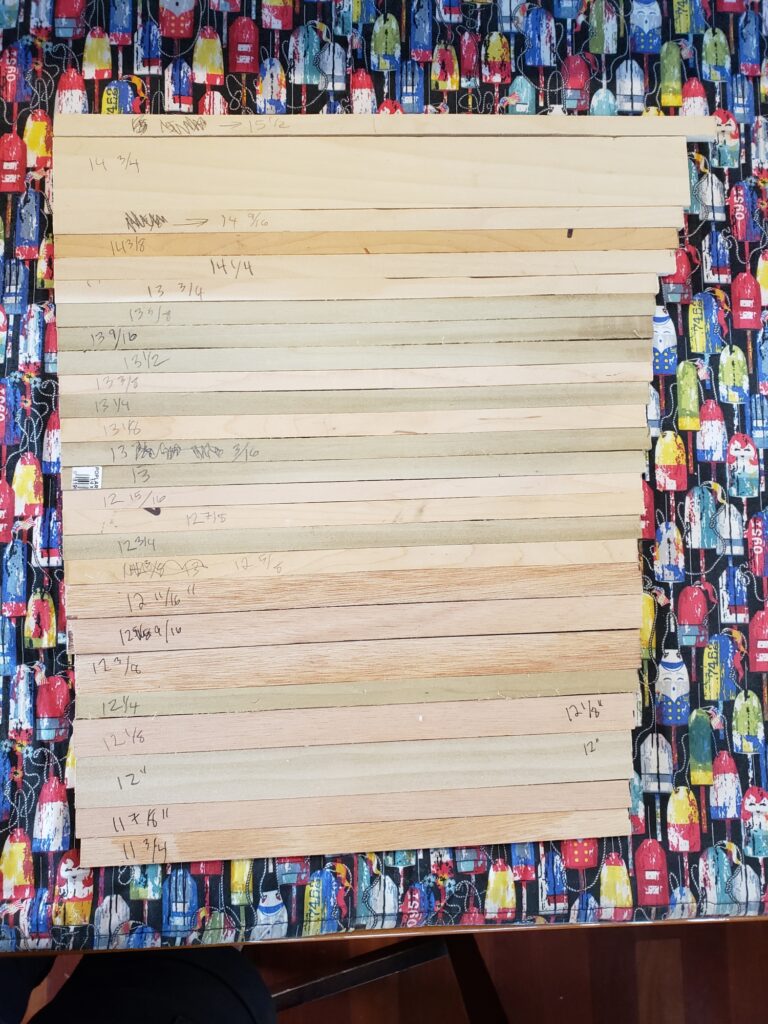
The story board collection
Coping
Then came coping. Our ceilings have lots of wooden beams with quarter round
- Pilothouse: 9
- Galley: 5
- Salon: 7
- Each side of boat needed trim
- 42 pieces of trim
- Each trim had 2 ends = 84 coping cuts.
- Plus 4 flat pieces of trim for galley hatch
Thanks to many YouTube videos about alternatives to using a coping saw and availability of an oscillating spindle sander in the shop, Nancy managed to get all the trim appropriately coped by grinding instead of sawing. It only took about 10 hours instead of the days it would have taken using a coping saw.
It looks great!
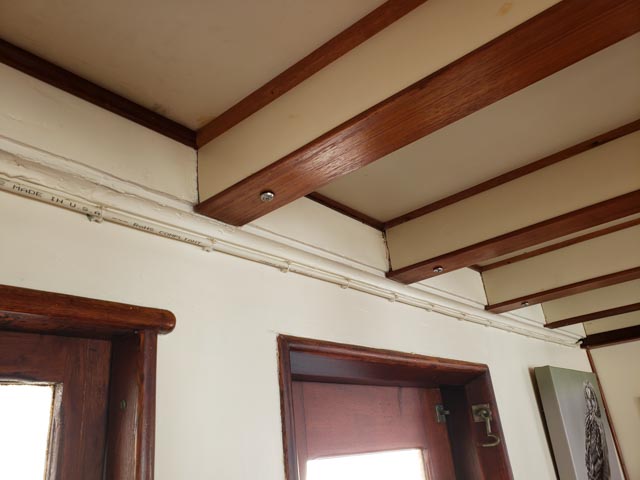
Finished quarter round in place, with the ends coped – looks perfect
Hatch Trim
Third project was to install trim around the inside of the hatch in the pilothouse roof. There is a porthole in the roof of the pilothouse that allows us to pass the remote engine controls (or anything else) to someone on the roof. For some reason, it had never been trimmed out. We decided this was a good project.
First we spent about a month contemplating the best way to do this. Then we had to figure out how to do what we decided to do. There were lots of steps in the process:
We decided the best approach would be to make the trim from a single piece of wood. We found a candidate in the Gyrfalcon scrap wood pile. An extensive diet of Tube You videos convinced Peter that the best way would be to make a pattern using a router. We measured and remeasured the hatch. Then we made a plywood pattern of the hatch trim. Then we made a mock up of the final trim piece using a patterning bit in the router and a piece of plywood. Once we were convinced that the pattern was exact, we moved on the the actual trim piece. Since we only had one piece of teak of the proper size, there was quite a bit of anxiety when routing the final piece (thus the reason for doing a test run in plywood first). After the trim donut was finished, we used to router to rabbet one side so that the trim piece would fit snugly in the ceiling. The end result was incredible.

Peter holding the completed trim piece before it was mounted
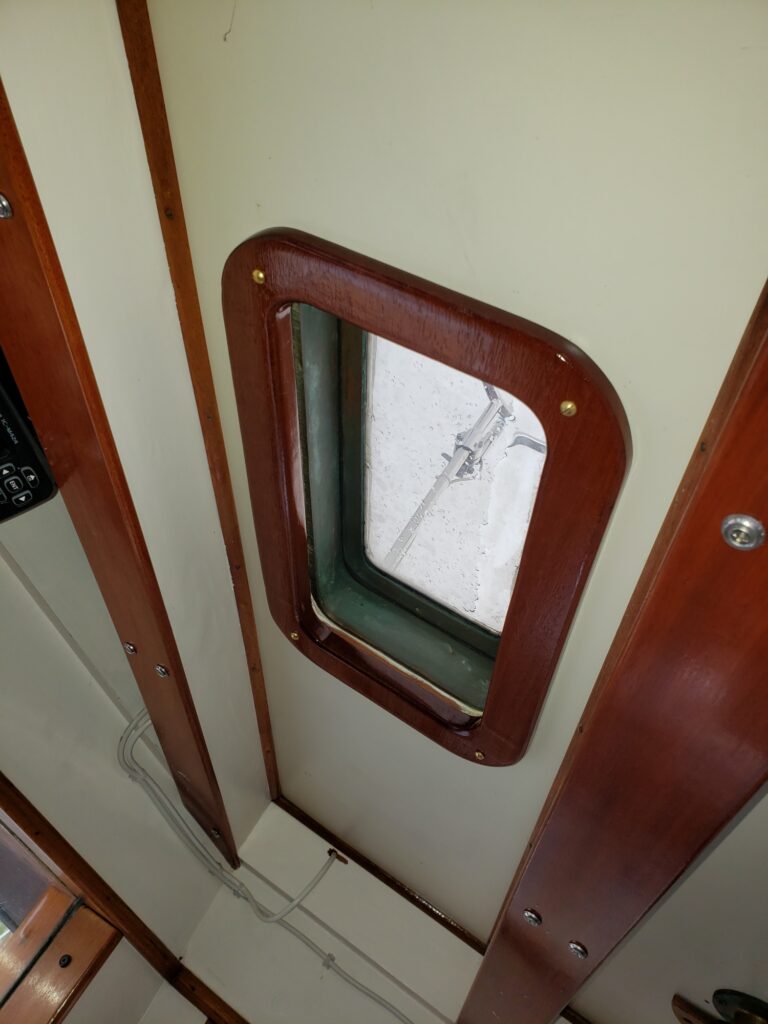
Hatch trim in place – looks great
We completed all this carpentry while we were in the boatyard, having some repair work done to the transmission (a story for another blog). We have now returned to our home dock, and will spend the winter months preparing for our next season in Alaska.